

Ampere Computing is committed to providing our customers with the widest range of options possible for running cloud native workloads on Ampere® Altra® Multi Core Server Processors. These options include operating systems, such as FreeBSD.
FreeBSD is an operating system used to power modern servers, desktops, and embedded platforms, and a large community has continually developed it for more than thirty years. Its advanced networking, security, and storage features have made FreeBSD the platform of choice for many of the busiest web sites and most pervasive embedded networking and storage devices.
The FreeBSD project has supported 64-bit Arm platforms for some time, ensuring that all core software for the operating system is natively compiled to ensure a “just works” experience for its customers who choose to build and run solutions on FreeBSD. Recently FreeBSD became available, via the Oracle Cloud Infrastructure (OCI) Marketplace, for use on OCI Ampere A1 shapes . In this post, we will show how you can use Terraform to quickly automate the deployment and configuration of FreeBSD on Ampere® Altra® multi core processors on Oracle Cloud Infrastructure
Requirements
In this tutorial, we will use the DevOps tool Terraform, to launch a FreeBSD virtual machine on an OCI Ampere A1 compute platform while passing in some metadata to configure it. Before we get started:
- Install Terraform on your local system.
- Make sure you have an Oracle OCI “Always Free” Account and credentials for API use
Using the oci-ampere-a1 Terraform module
The oci-ampere-a1 Terraform module code supplies the minimal amount of information to quickly have working Ampere A1 shapes on OCI “Always Free”. It has been updated to include the ability to easily select FreeBSD as an option by passing in a parameter. OCI allows grouping shapes into compartments, but to keep things simple in this tutorial, we will create shapes with the tenancy ID as compartment ID, which will create VMs in the root compartment. The following tasks will be performed by the oci-ampere-a1 Terraform module.
- Operating system image id discovery in the user region.
- Dynamically create SSH keys to use when logging into the shape.
- Dynamically find the region, availability zone and image id.
- Create necessary core networking configurations for the tenancy
- Render metadata to pass into the Ampere A1 shape.
- Launch 1 to 4 Ampere A1 shapes with the right metadata and SSH keys.
- Output IP information so that we can connect to the shape.
Configuration with terraform.tfvars
For the purpose of this tutorial, we will quickly configure Terraform using a terraform.tfvars in the project directory. The following is an example of what terraform.tfvars should look like:
tenancy_ocid = "ocid1.tenancy.oc1..aaaaaaaabcdefghijklmnopqrstuvwxyz1234567890abcdefghijklmnopq"
user_ocid = "ocid1.user.oc1..aaaaaaaabcdefghijklmnopqrstuvwxyz0987654321zyxwvustqrponmlkj"
fingerprint = "a1:01:b2:02:c3:03:e4:04:10:11:12:13:14:15:16:17"
private_key_path = "/home/bwayne/.oci/oracleidentitycloudservice_bwayne-08-09-14-59.pem"For more information regarding how to get your OCI credentials please refer to the following reading material:
Creating the main.tf
To use the terraform module you must open your favorite text editor and create a file called main.tf. Copy the following code which will allow you to supply a custom cloud-init template to terraform.
variable "tenancy_ocid" {} variable "user_ocid" {} variable "fingerprint" {} variable "private_key_path" {} locals { cloud_init_template_path = "${path.cwd}/cloud-init.yaml.tpl" } module "oci-ampere-a1" { source = "github.com/amperecomputing/terraform-oci-ampere-a1" tenancy_ocid = var.tenancy_ocid user_ocid = var.user_ocid fingerprint = var.fingerprint private_key_path = var.private_key_path # Optional # oci_vcn_cidr_block = "10.2.0.0/16" # oci_vcn_cidr_subnet = "10.2.1.0/24" oci_os_image = "freebsd" instance_prefix = "ampere-a1-freebsd" oci_vm_count = "1" ampere_a1_vm_memory = "24" ampere_a1_cpu_core_count = "4" cloud_init_template_file = local.cloud_init_template_path } output "oci_ampere_a1_private_ips" { value = module.oci-ampere-a1.ampere_a1_private_ips } output "oci_ampere_a1_public_ips" { value = module.oci-ampere-a1.ampere_a1_public_ips }
Creating a cloud init template.
Using your favorite text editor create a file named cloud-init.yaml.tpl in the same directory as the main.tf you previously created. The following cloud-init will install some common software packages on the base operating system – you can modify this package to execute other common post-instantiation tasks.
#cloud-config package_update: true package_upgrade: true packages: - tmux - rsync - git - curl - bzip2 - python3 - python3-devel - python3-pip-wheel - gcc - gcc-c++ - bzip2 - screen groups: - ampere system_info: default_user: groups: [ampere] runcmd: - echo 'OCI Ampere FreeBSD Example' >> /etc/motd
Running Terraform
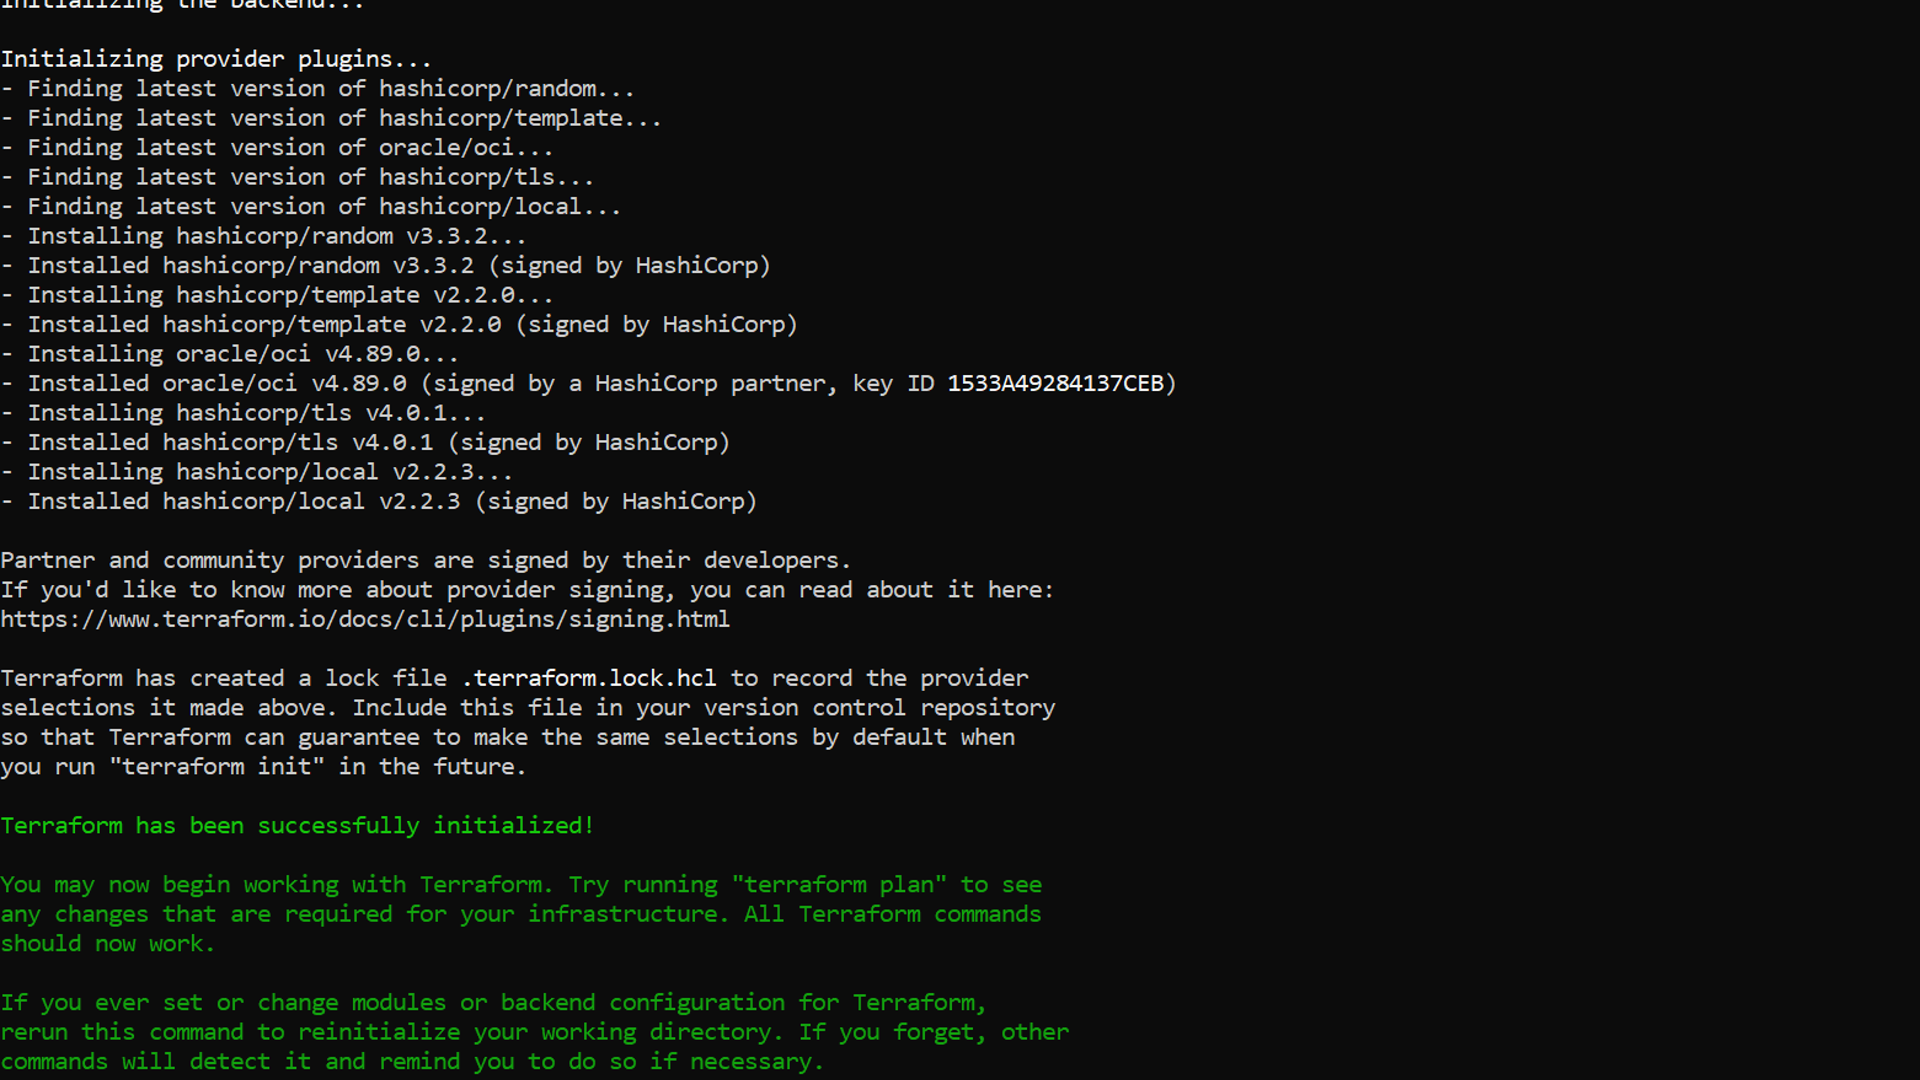
Executing Terraform is broken into three commands. First you initialize the Terraform project with the modules and necessary plugins to support proper execution. Then you verify that your configuration looks right by preparing its execution, and finally you apply the script. The following command will perform the initialization of Terraform:
terraform init
Below is output from a ‘terraform init’ execution within the project directory.
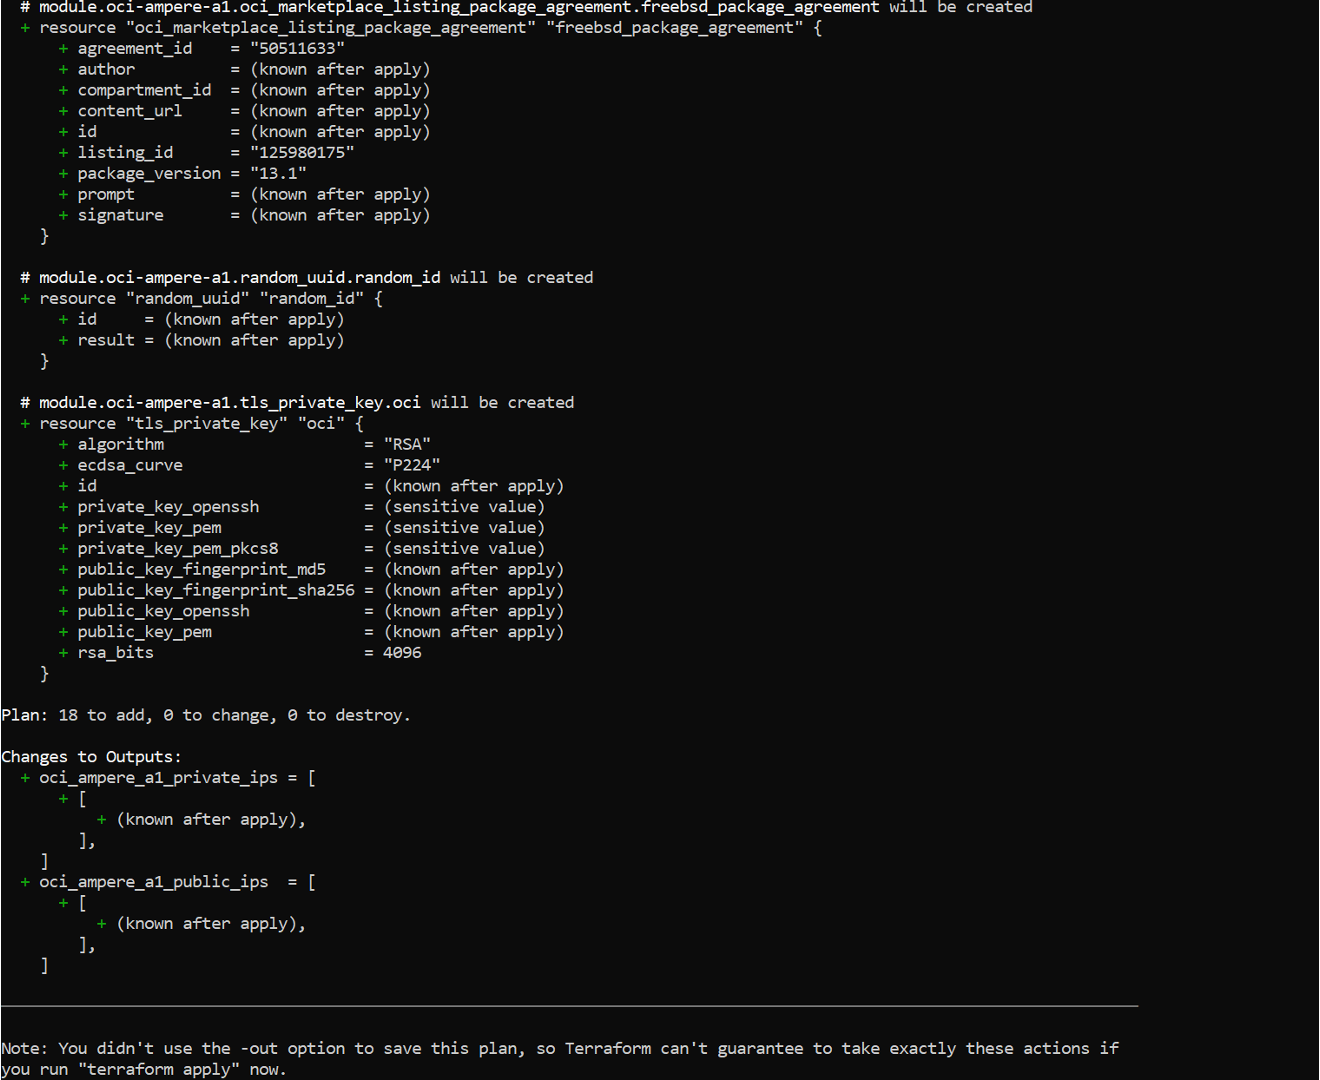
After ‘terraform init’ is executed it is necessary to run ‘plan’ to see the tasks, steps and objects. that will be created by interacting with the cloud APIs. Executing the following from a command line will do so:
terraform plan
The output from a ‘terraform plan’ execution in the project directly will look like the following:
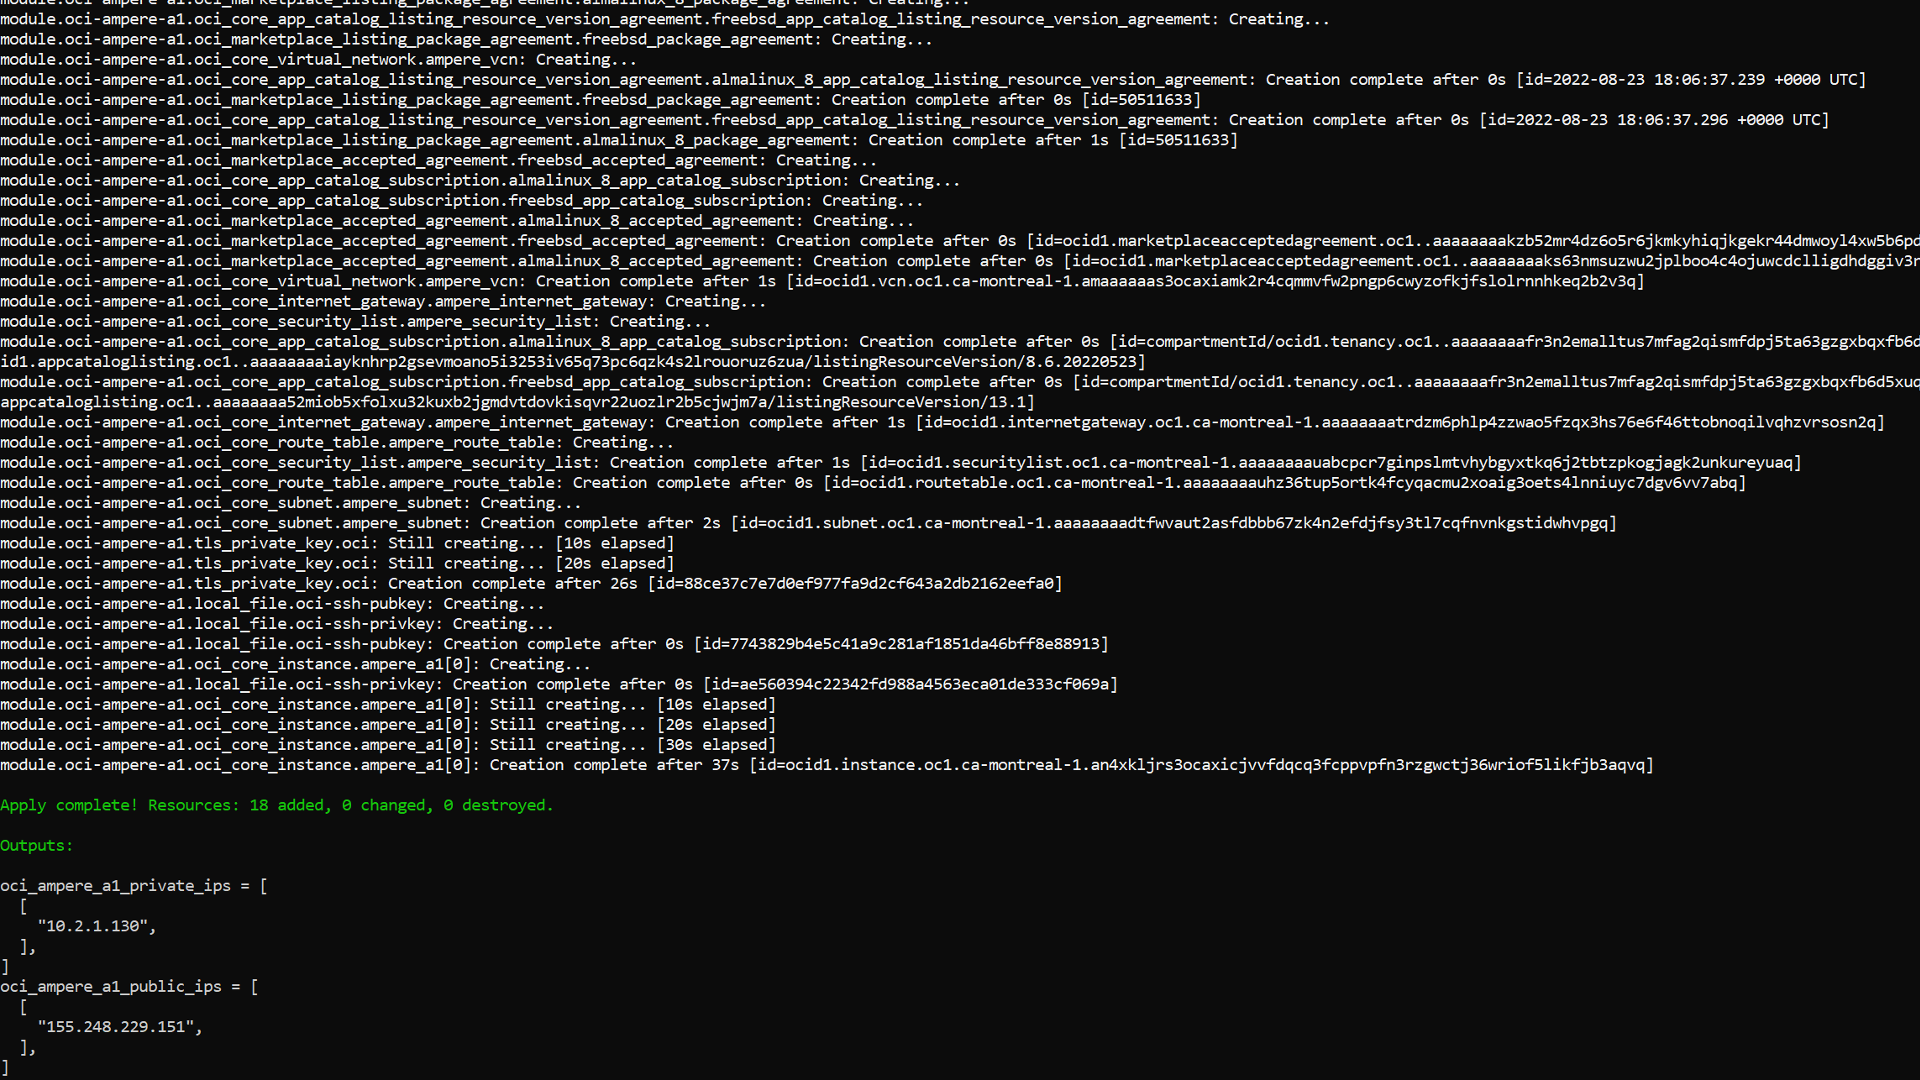
Finally, you execute the ‘apply’ phase of the Terraform execution sequence. This will create all the objects, execute all the tasks and display any output that is defined. Executing the following command from the project directory will automatically execute without requiring any additional interaction:
terraform apply -auto-approve
The following is an example of output from a ‘apply’ run of Terraform from within the project directory:
Logging in
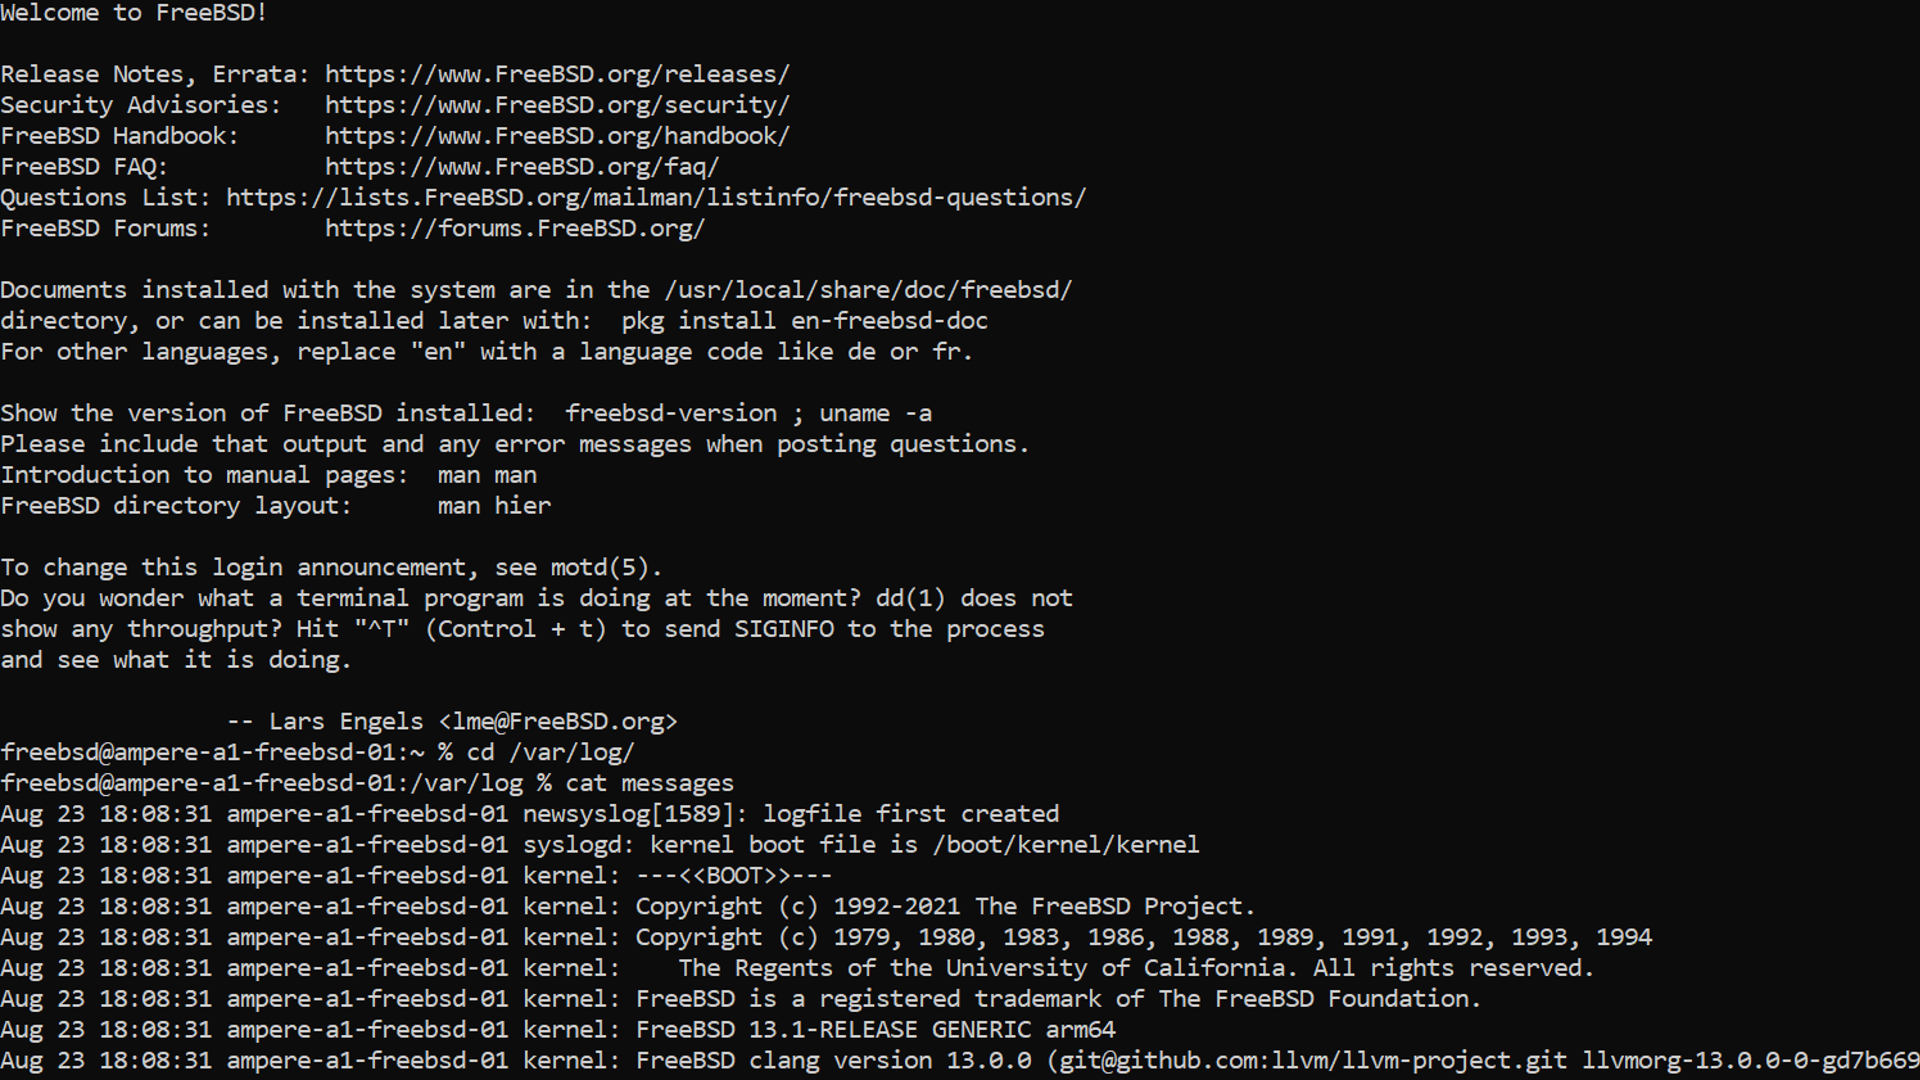
Next you’ll need to login with the dynamically generated SSH key that will be sitting in your project directory. To log in take the IP address from the output above and run the following SSH command:
ssh -i ./oci-is_rsa freebsd@155.248.228.151
You should be automatically logged in after running the command. The following is output from connecting to an shape with SSH and then running ‘sudo cat /var/log/messages’ to verify cloud-init execution and package installation:
Destroying when done
You now should have a fully running and configured FreeBSD shape. After you are finished with it, you can execute the ‘destroy’ command to remove all created objects in a ‘leave no trace’ manner. Execute the following from a command to remove all created objects when finished:
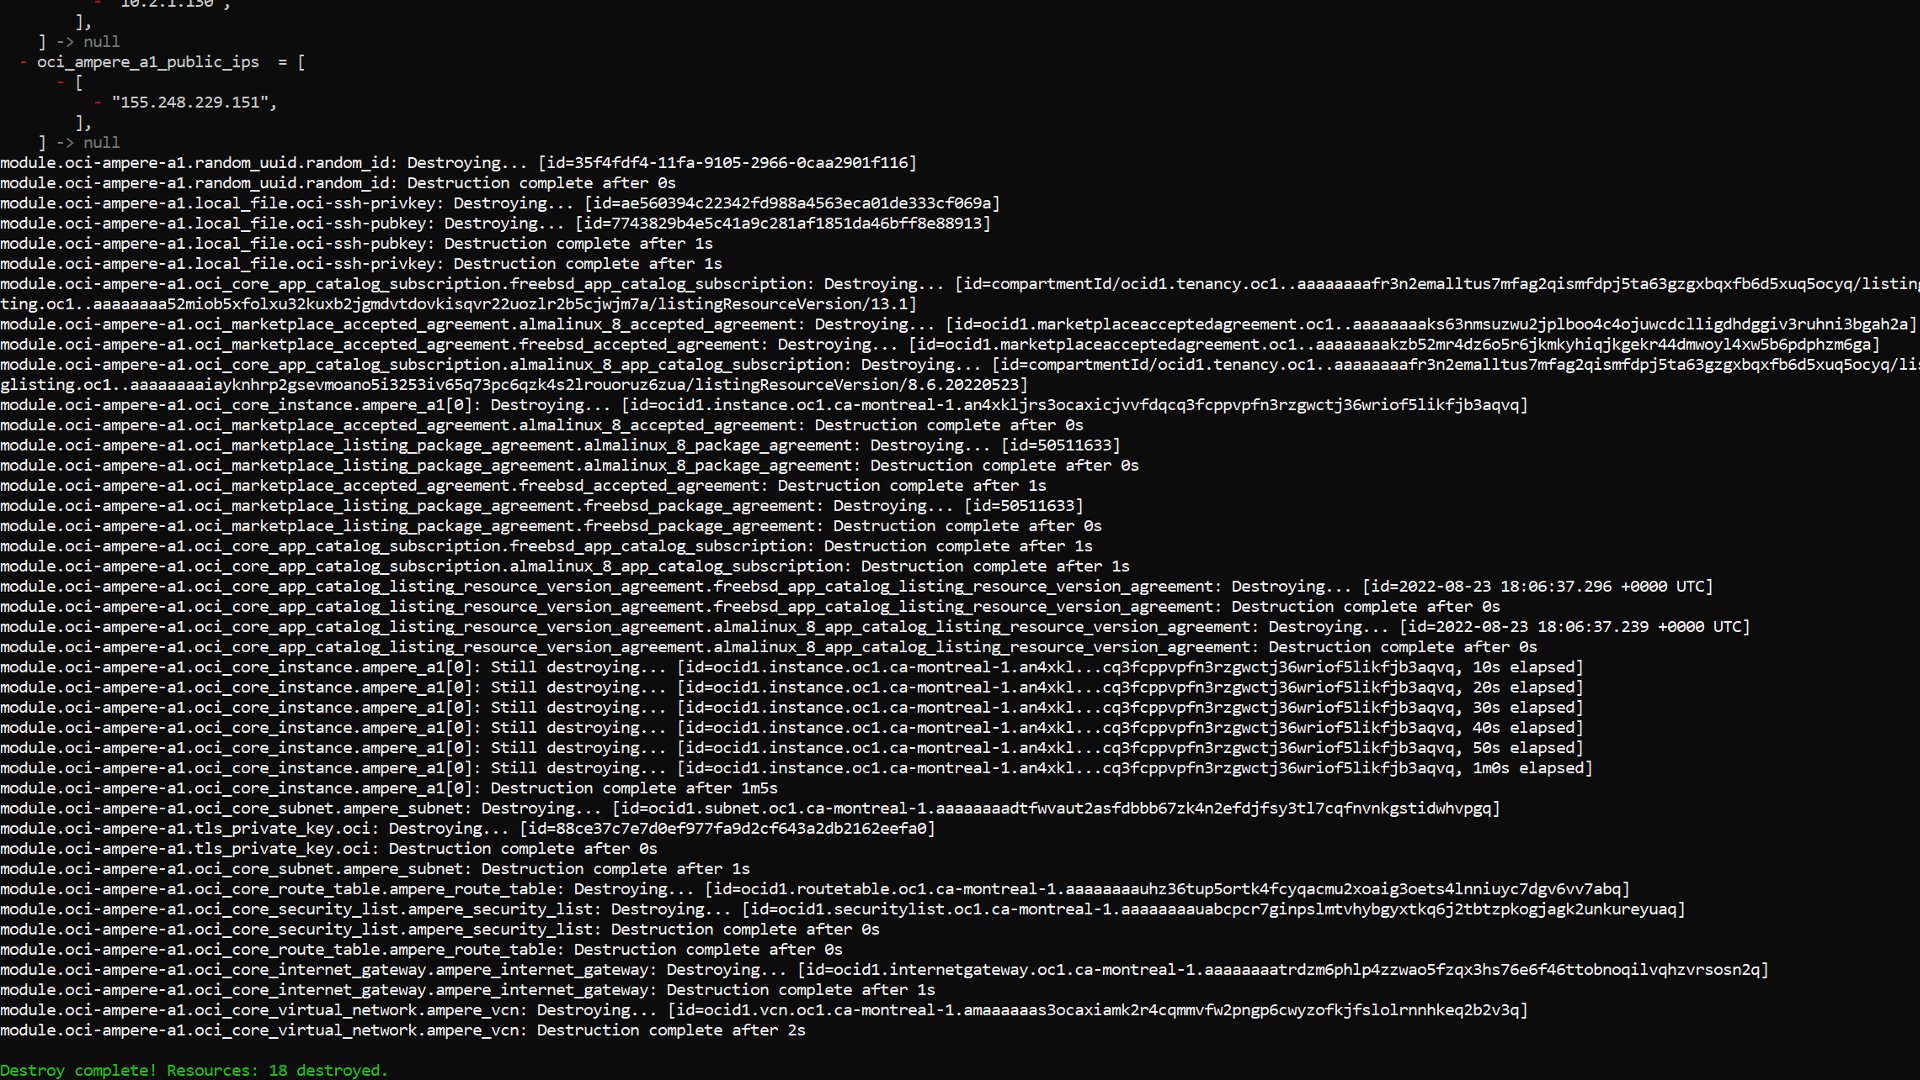
terraform destroy -auto-approve
The following is example output of the ‘terraform destroy’ when used on this project.
Modifying the cloud-init file and then performing the same workflow will allow you to get iterating quickly. At this point you should know how to quickly automate the creation of FreeBSD VMs in Ampere A1 shapes on OCI. This approach can also be adapted to other Cloud Service Providers.
Ampere Computing
4655 Great America Parkway
Suite 601 Santa Clara, CA 95054

