Canonical AI Tutorial on HPE RL300
AI Inferencing Demo with HPE ProLiant RL300 Gen11
Executive Summary
The purpose of this document is to provide a configuration guide for demonstrating computer vision inferencing on an Ampere CPU using the HPE ProLiant RL300 Gen11 Compute server, running Ubuntu and Canonical MicroK8s, a lightweight Kubernetes distribution.
The combination of Ampere® Altra® family processors and Canonical MicroK8s is ideal for AI inference workloads, offering a scalable platform from single node setups to high-availability multi-node production clusters, while minimizing the physical footprint.
Architecture
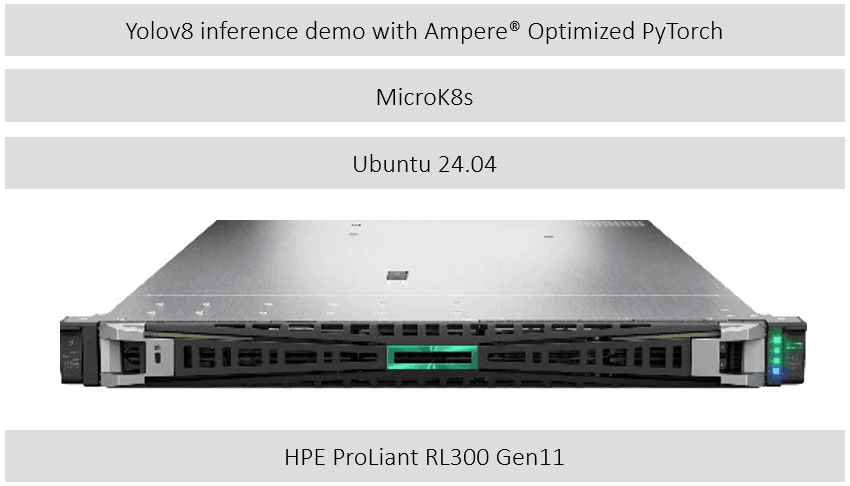
Figure 1. The framework for Computer vision AI Inferencing demo with HPE ProLiant RL300 Gen11
Software versions
- Ubuntu Server: 24.04
- MicroK8s: 1.31
- YOLOv8 Demo Application: 0.3.9
Ubuntu Server
Ubuntu Server is a version of the Ubuntu operating system specifically designed for server and data center environments, offering a robust and scalable platform for cloud, edge, and on-premises infrastructure. It supports a wide range of workloads, from web hosting and database management to AI, machine learning, and containerized applications. Ubuntu Pro is a subscription-based offering that extends the standard Ubuntu distribution with additional enterprise-grade features, including security and compliance enhancements. Organizations using Ubuntu Pro benefit from extended security maintenance coverage for up to 10 years, ensuring long-term stability and protection against vulnerabilities. In addition, Ubuntu Pro provides optional enterprise-grade phone and ticket support from Canonical, offering companies the expertise and assistance they need to manage and optimize their infrastructure. This makes Ubuntu Pro a comprehensive solution for businesses seeking enhanced security, reliability, and professional support in their Ubuntu deployments.
MicroK8s
Canonical MicroK8s is a CNCF-certified Kubernetes distribution that provides a lightweight, efficient, and streamlined approach to deploying and managing Kubernetes clusters. Designed with simplicity and speed in mind, it caters to developers, IoT, and edge computing environments, as well as production workloads in resource-constrained environments. Delivered as a snap, the universal Linux app packaging format, MicroK8s dramatically simplifies installation, updates, and upgrades of its components, ensuring a hassle-free deployment process with minimal overhead.
MicroK8s offers a fully-featured Kubernetes experience with key services like DNS, storage, ingress, and monitoring enabled out of the box, while allowing users to enable or disable additional services through simple commands. Its modular design allows for flexibility in tailoring the cluster to specific needs without the complexity of a full-scale Kubernetes deployment. MicroK8s is also well-suited for AI, ML, and edge workloads, making it a versatile choice for a wide range of use cases, from development and testing to production environments.
YOLOv8
YOLO is a real-time object detection algorithm designed to identify and classify objects within an image or video in a single pass through the neural network, making it highly efficient and fast. It works by dividing the image into a grid and predicting bounding boxes and class probabilities for each section. YOLOv8, the latest iteration, enhances detection accuracy and speed, making it ideal for AI-powered tasks such as autonomous driving and surveillance. When deployed on MicroK8s, a lightweight Kubernetes distribution, YOLO can efficiently scale from edge devices to production clusters, leveraging MicroK8s' container orchestration and AI inferencing capabilities to run YOLO's deep learning models in a cloud-native environment. This ensures optimized performance and easy deployment of AI workloads across various infrastructures.
Running YOLO on an Ampere Altra CPU with the HPE RL300 server brings significant performance gains, as the high core counts and energy efficiency of the Ampere CPU optimize AI inferencing tasks. This combination provides a scalable and cloud-native platform for running advanced AI workloads while minimizing physical and energy footprints.
Accessing the Demo
To access the YOLOv8 object detection inference demo, observability and Kubernetes dashboards, following FQDNs need to be resolvable to the IP address of the RL300 by the machine running the browser. Replace
In Linux, these entries need to be added to the /etc/hosts file.
In Windows, these entries need to be added to the c:\Windows\System32\Drivers\etc\hosts file. Right click on Notepad in your start menu and select “Run as Administrator”. Then, click File > Open and browse to : c:\Windows\System32\Drivers\etc\hosts and add the entries.
Alternatively, you can add these entries to the DNS server that the machine running the browser uses.
Install and update Ubuntu 24.04
- Download and install Ubuntu 24.04
- Update system
sudo apt update && sudo apt upgrade -y
Install MicroK8s
Install MicroK8s package
sudo snap install microk8s --channel=1.31-strict/stable
Add your user to the ‘microk8s’ group for unprivileged access
sudo adduser $USER snap_microk8s
Wait for MicroK8s to finish initializing
sudo microk8s status --wait-ready
Enable the 'storage' and 'dns' addons
sudo microk8s enable hostpath-storage dns
Alias kubectl so it interacts with MicroK8s by default
sudo snap alias microk8s.kubectl kubectl
Ensure your new group membership is apparent in the current terminal (Not required once you have logged out and back in again)
newgrp snap_microk8s
Enable Kubernetes Dashboard
Enable MicroK8s ingress addon
sudo microk8s enable ingress
Enable MicroK8s dashboard addon
sudo microk8s enable dashboard
Apply dashboard-ingress.yaml file to access Kubernetes dashboard
cat << EOF > dashboard-ingress.yaml kind: Ingress apiVersion: networking.k8s.io/v1 metadata: name: ingress-kubernetes-dashboard namespace: kube-system generation: 1 annotations: kubernetes.io/ingress.class: public nginx.ingress.kubernetes.io/backend-protocol: HTTPS nginx.ingress.kubernetes.io/configuration-snippet: | chunked_transfer_encoding off; nginx.ingress.kubernetes.io/proxy-body-size: '0' nginx.ingress.kubernetes.io/proxy-ssl-verify: 'off' nginx.ingress.kubernetes.io/rewrite-target: / nginx.ingress.kubernetes.io/server-snippet: | client_max_body_size 0; spec: rules: - host: kubernetes.microk8s.test http: paths: - path: / pathType: Prefix backend: service: name: kubernetes-dashboard port: number: 443 EOF
kubectl apply -f dashboard-ingress.yaml
Retrieve token to access the Kubernetes dashboard
microk8s kubectl describe secret -n kube-system microk8s-dashboard-token
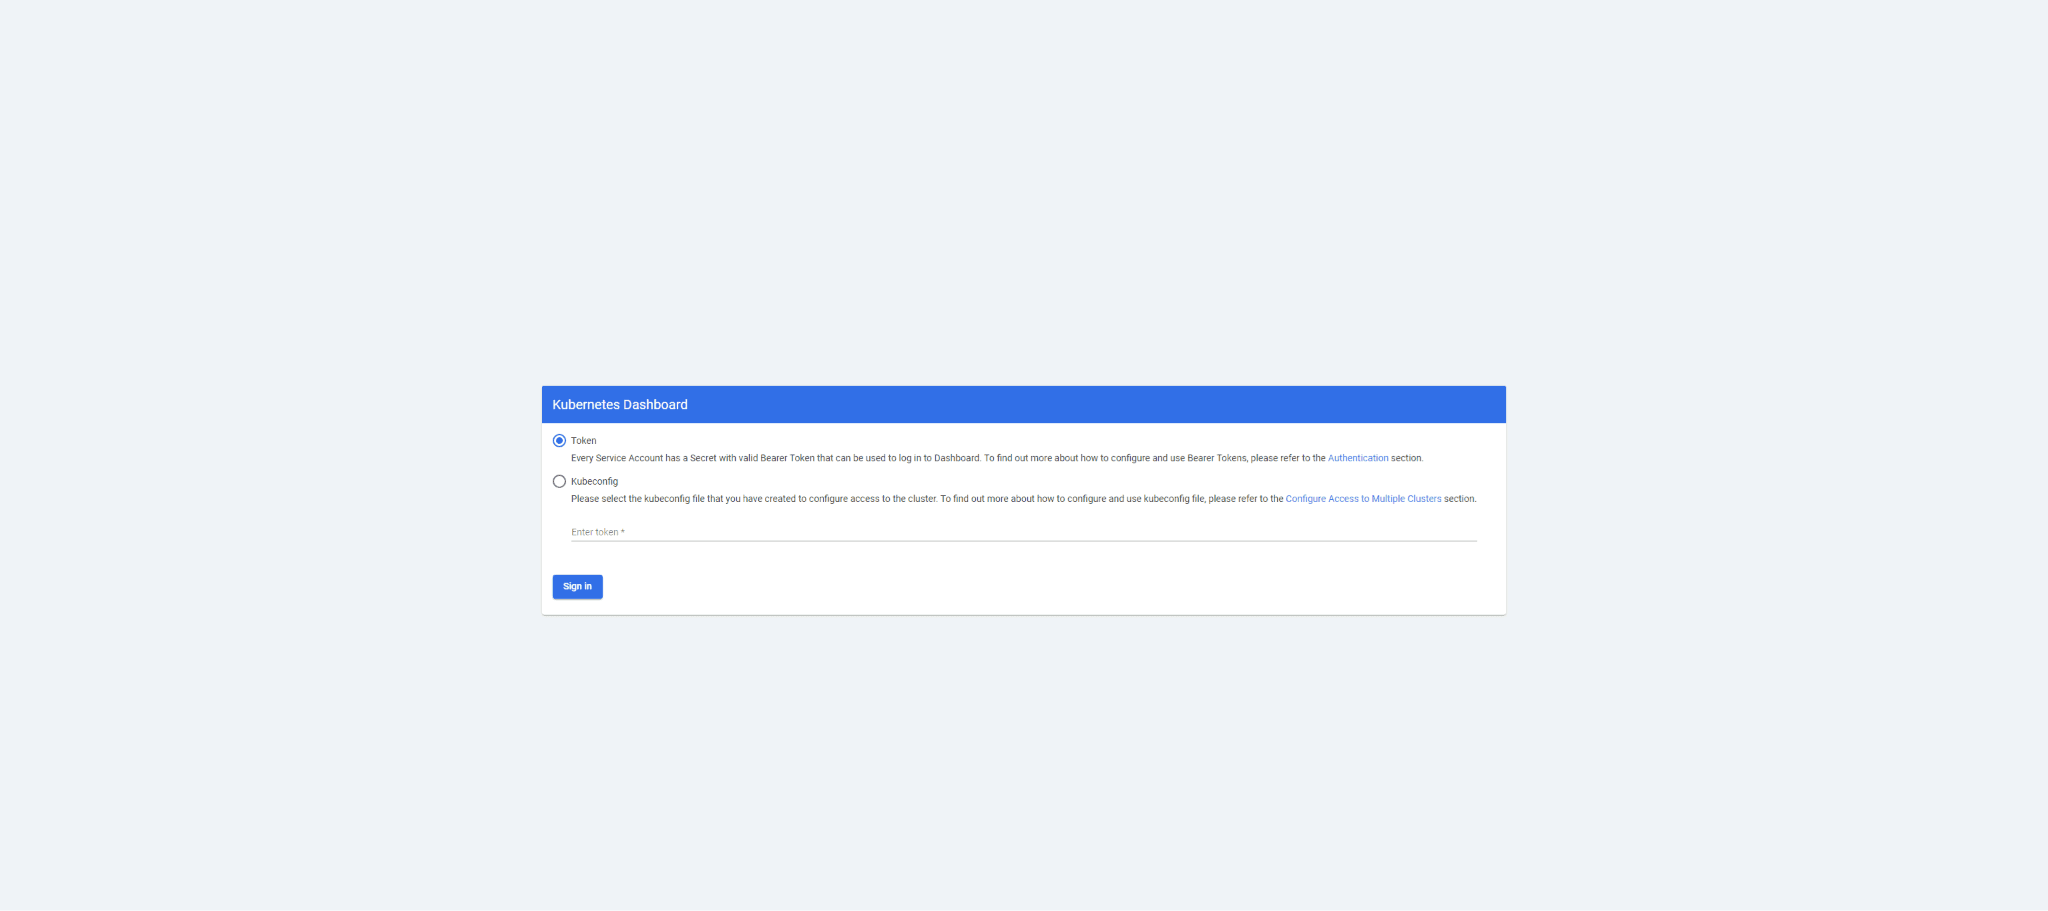
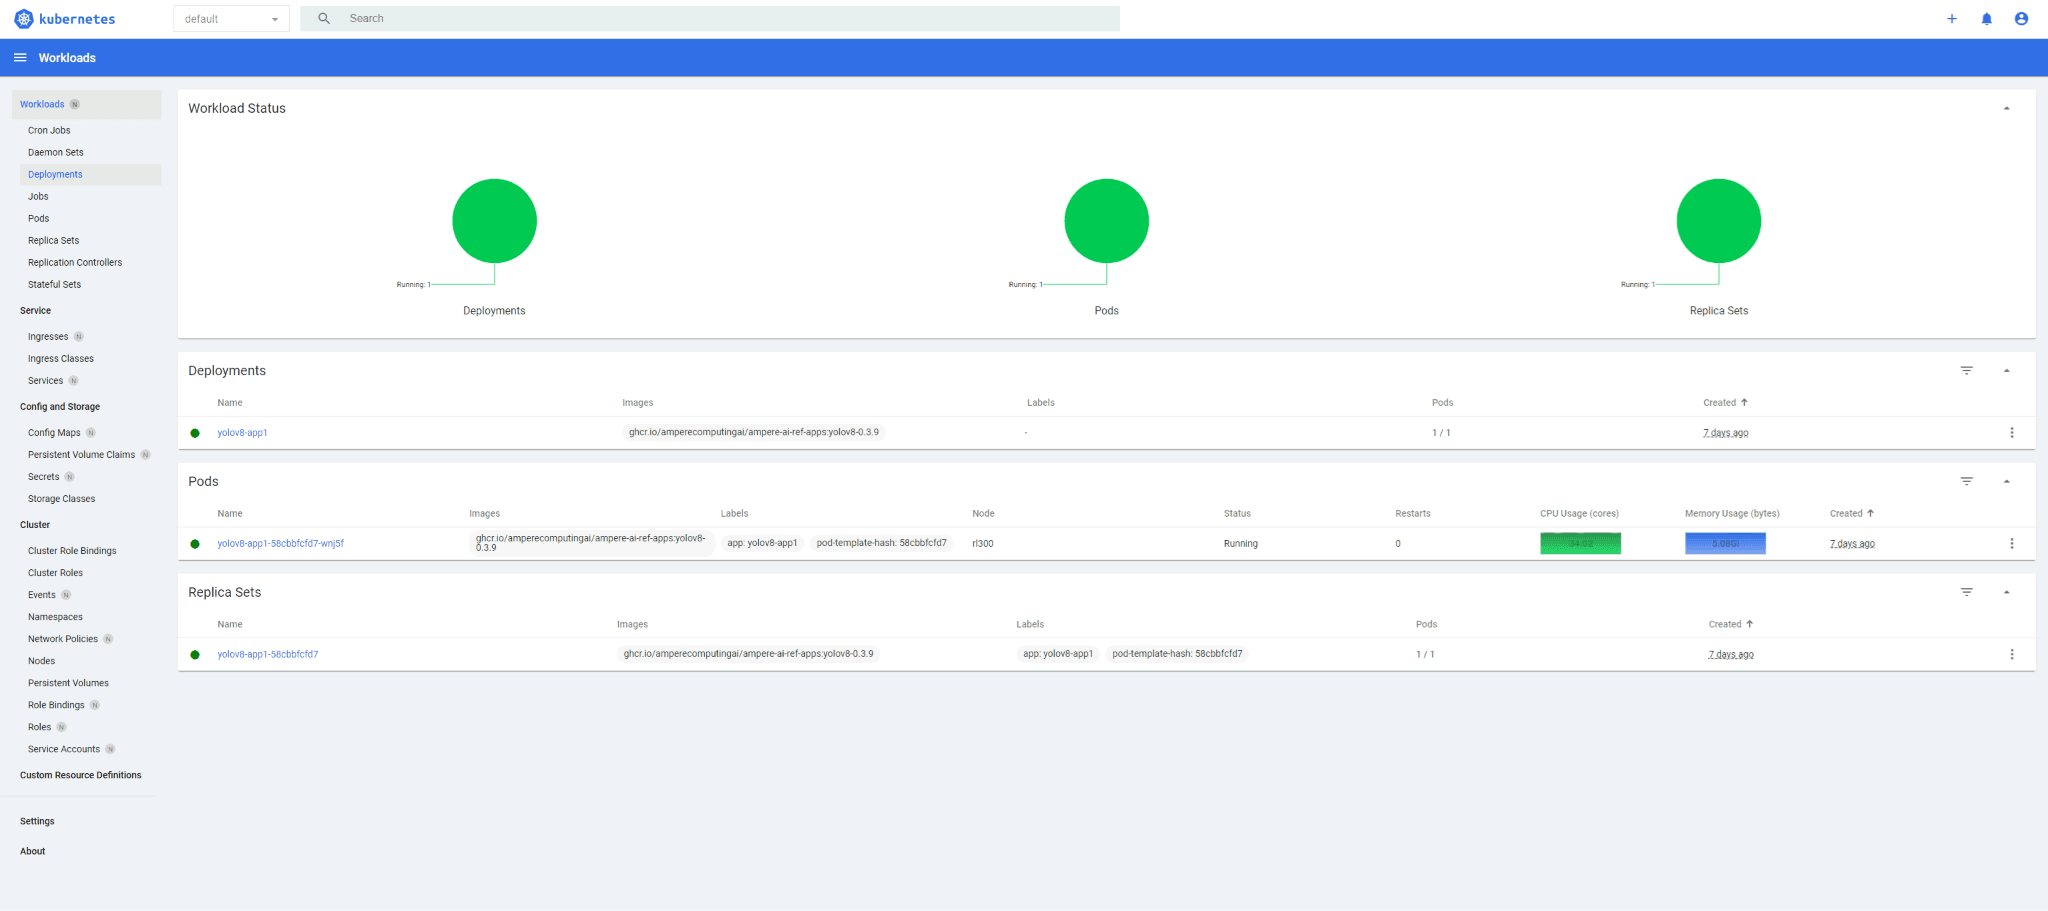
Access the dashboard web UI via https://kubernetes.microk8s.test
Enter the token created in the previous step
Enable MicroK8s Observability
Enable MicroK8s observability addon
sudo microk8s enable observability
Apply obs-ingress.yaml file to access Observability dashboards
cat << EOF > obs-ingress.yaml kind: Ingress apiVersion: networking.k8s.io/v1 metadata: name: grafana-ingress annotations: nginx.ingress.kubernetes.io/ssl-redirect: "false" kubernetes.io/ingress.class: "public" nginx.ingress.kubernetes.io/rewrite-target: / #new spec: rules: - host: "grafana.microk8s.test" http: paths: - backend: service: name: kube-prom-stack-grafana port: number: 3000 path: / pathType: Prefix --- kind: Ingress apiVersion: networking.k8s.io/v1 metadata: name: prometheus-ingress annotations: nginx.ingress.kubernetes.io/ssl-redirect: "false" kubernetes.io/ingress.class: "public" nginx.ingress.kubernetes.io/rewrite-target: / #new spec: rules: - host: "prometheus.microk8s.test" http: paths: - backend: service: name: kube-prom-stack-kube-prome-prometheus port: number: 9090 path: / pathType: Prefix --- kind: Ingress apiVersion: networking.k8s.io/v1 metadata: name: alertmanager-ingress annotations: nginx.ingress.kubernetes.io/ssl-redirect: "false" kubernetes.io/ingress.class: "public" nginx.ingress.kubernetes.io/rewrite-target: / #new spec: rules: - host: "alertmanager.microk8s.test" http: paths: - backend: service: name: kube-prom-stack-kube-prome-alertmanager port: number: 9093 path: / pathType: Prefix EOF
kubectl -n observability apply -f obs-ingress.yaml
Access the observability dashboards via the links below using the credentials user/pass: admin/prom-operator
Grafana: http://grafana.microk8s.test
Prometheus: http://prometheus.microk8s.test
Alert Manager: http://alertmanager.microk8s.test
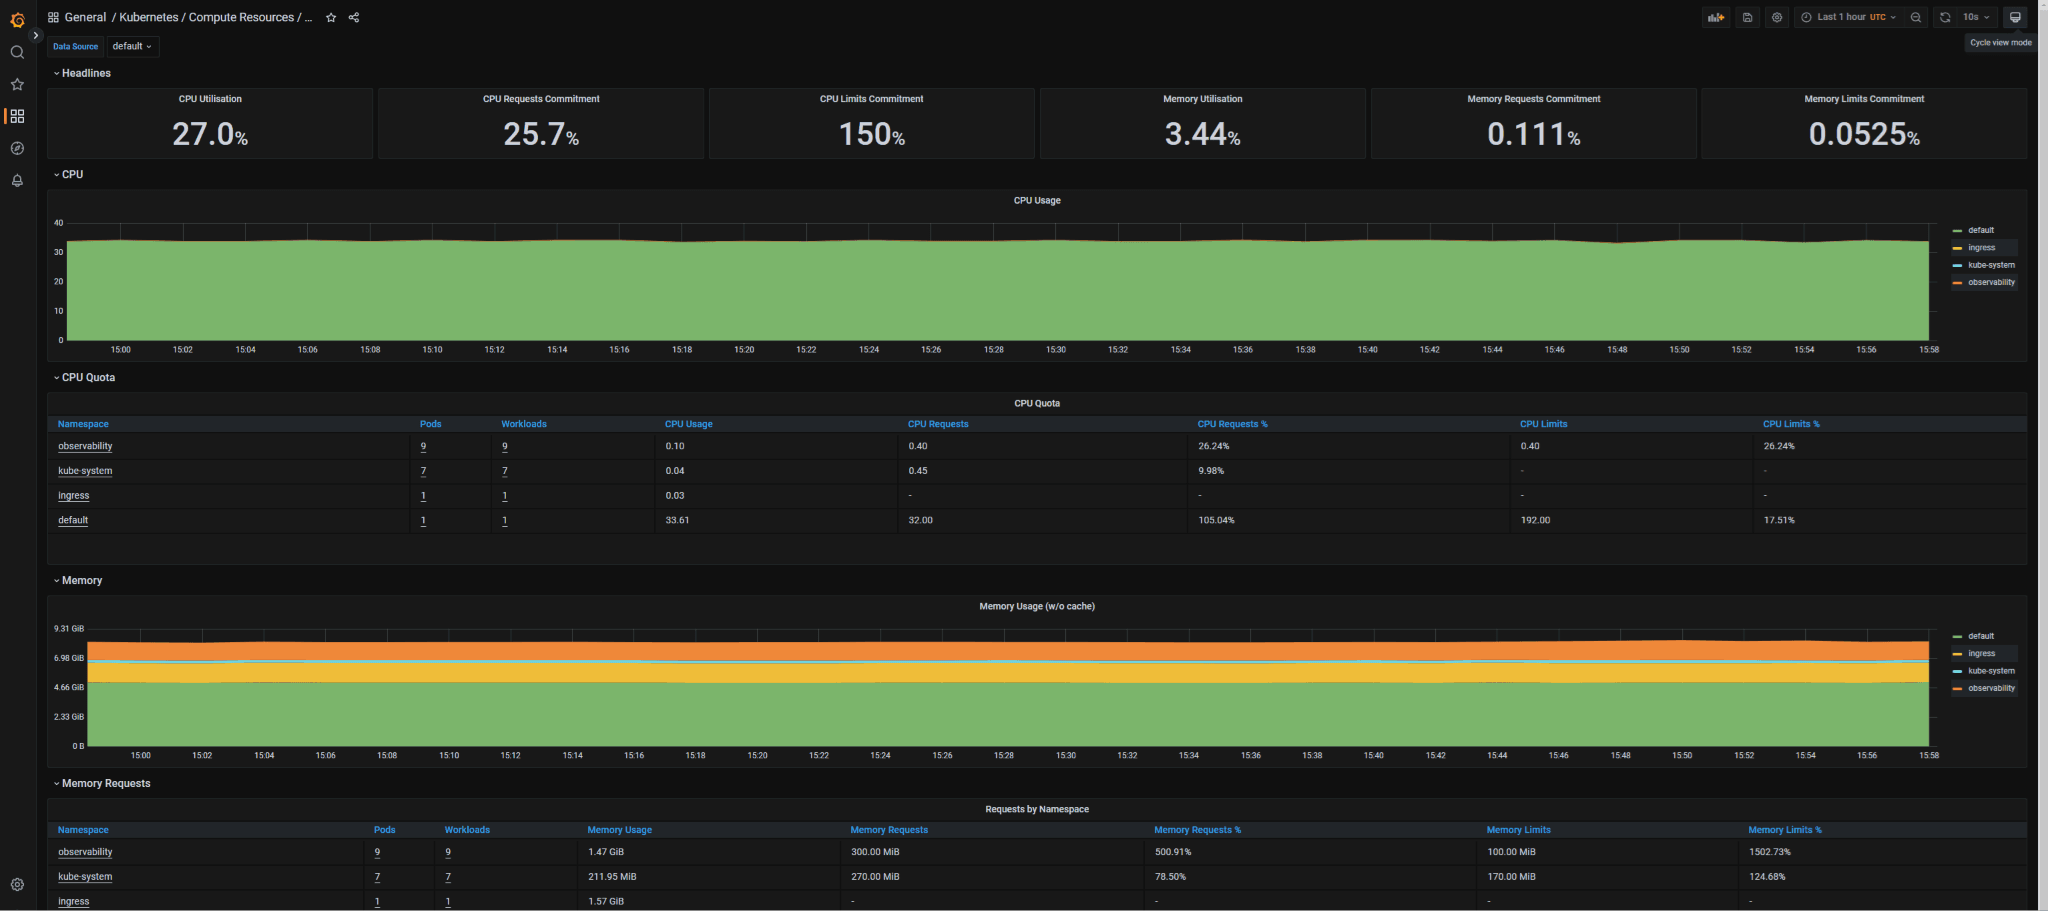
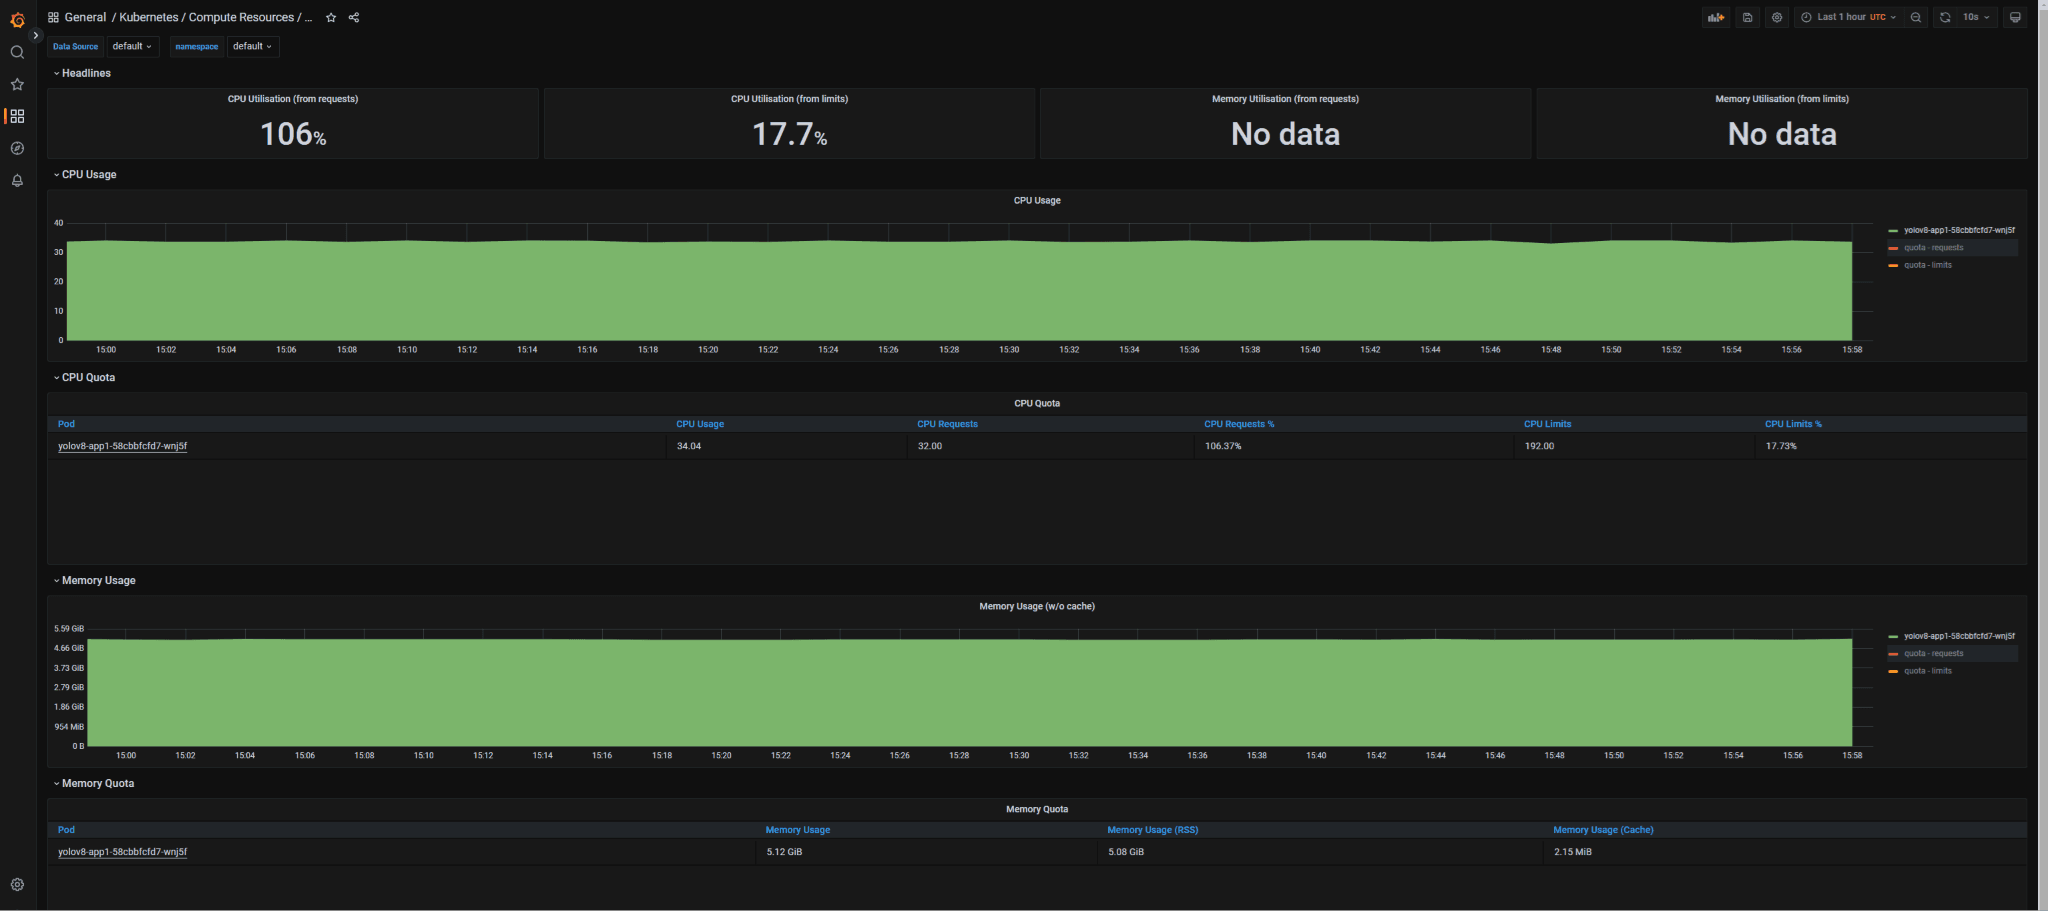
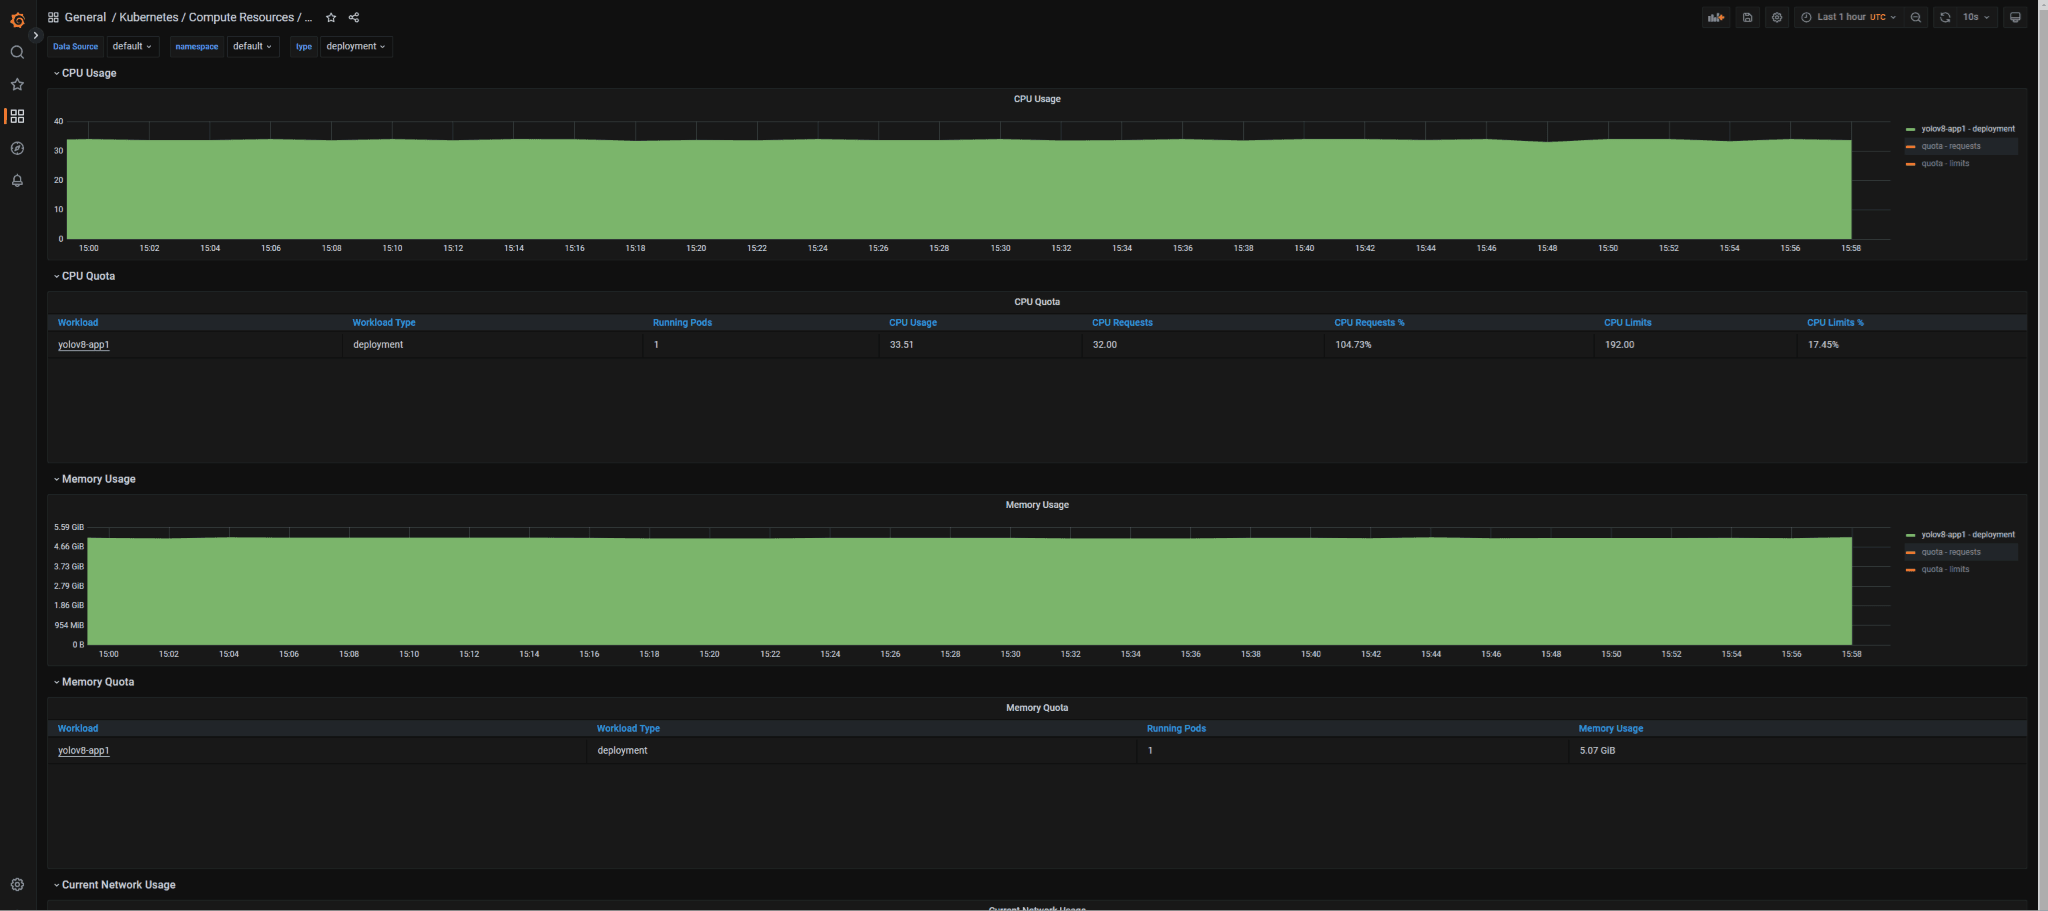
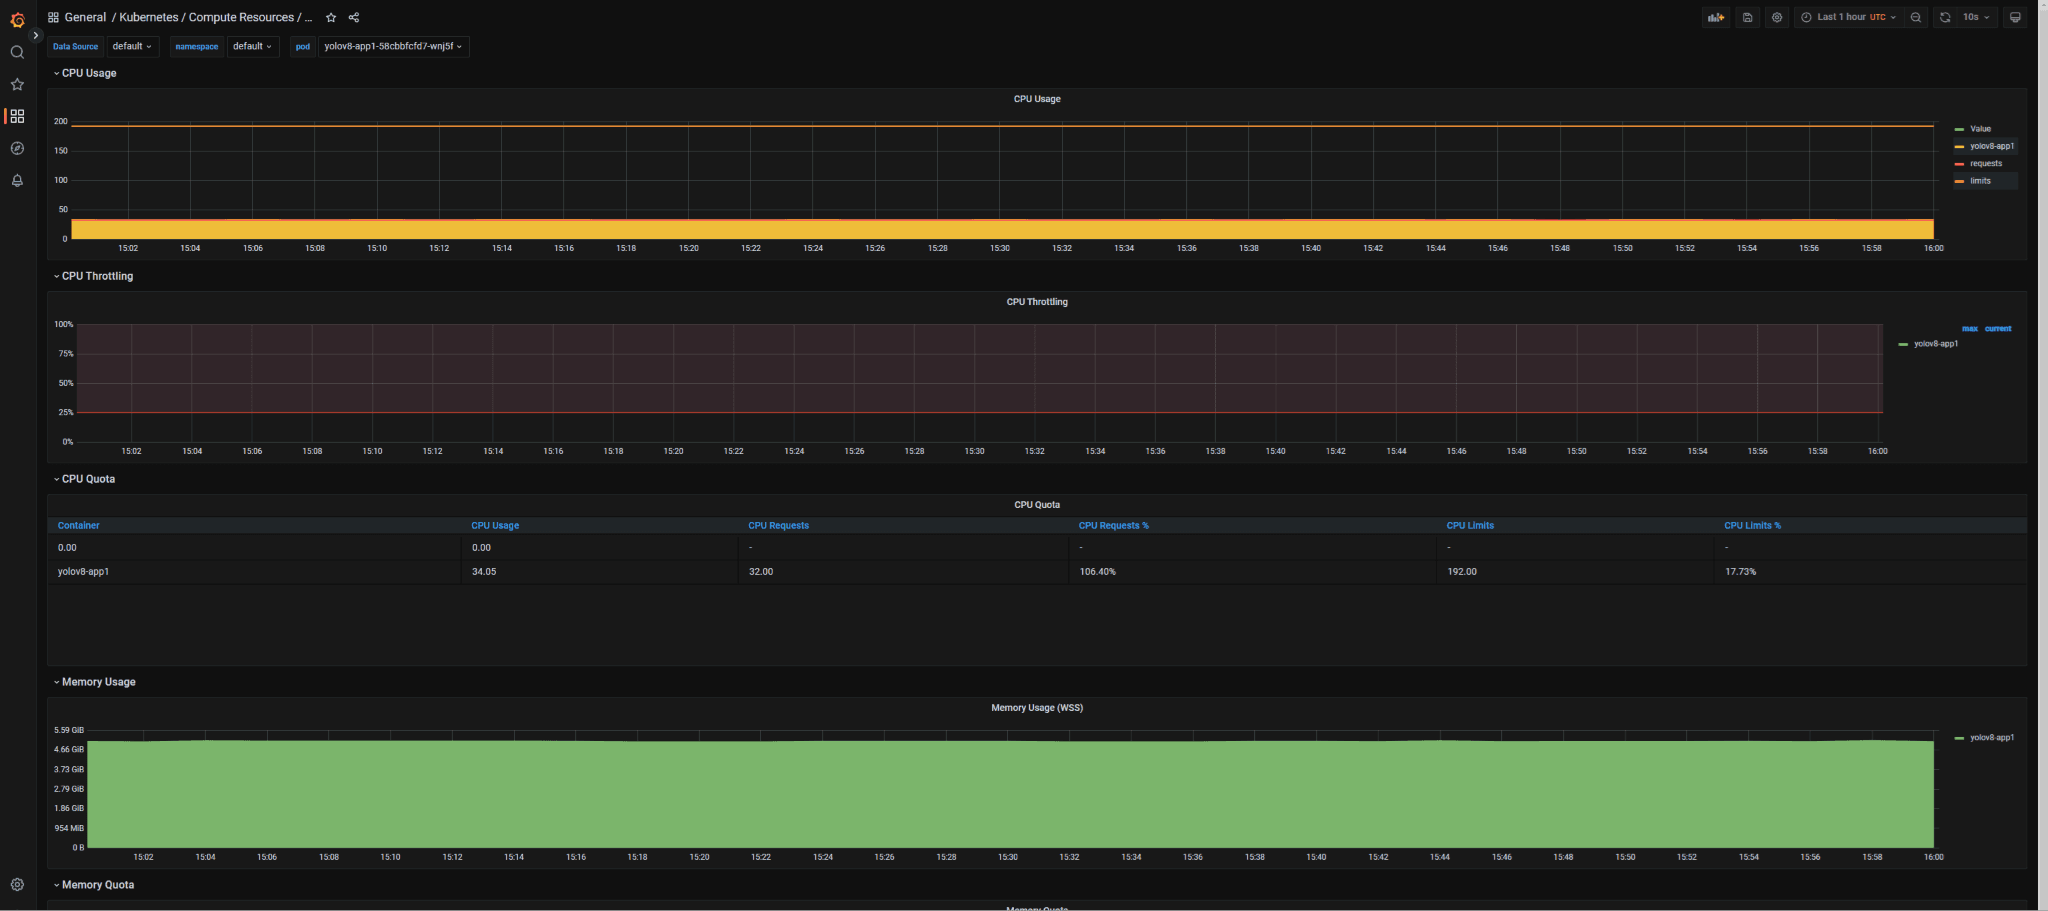
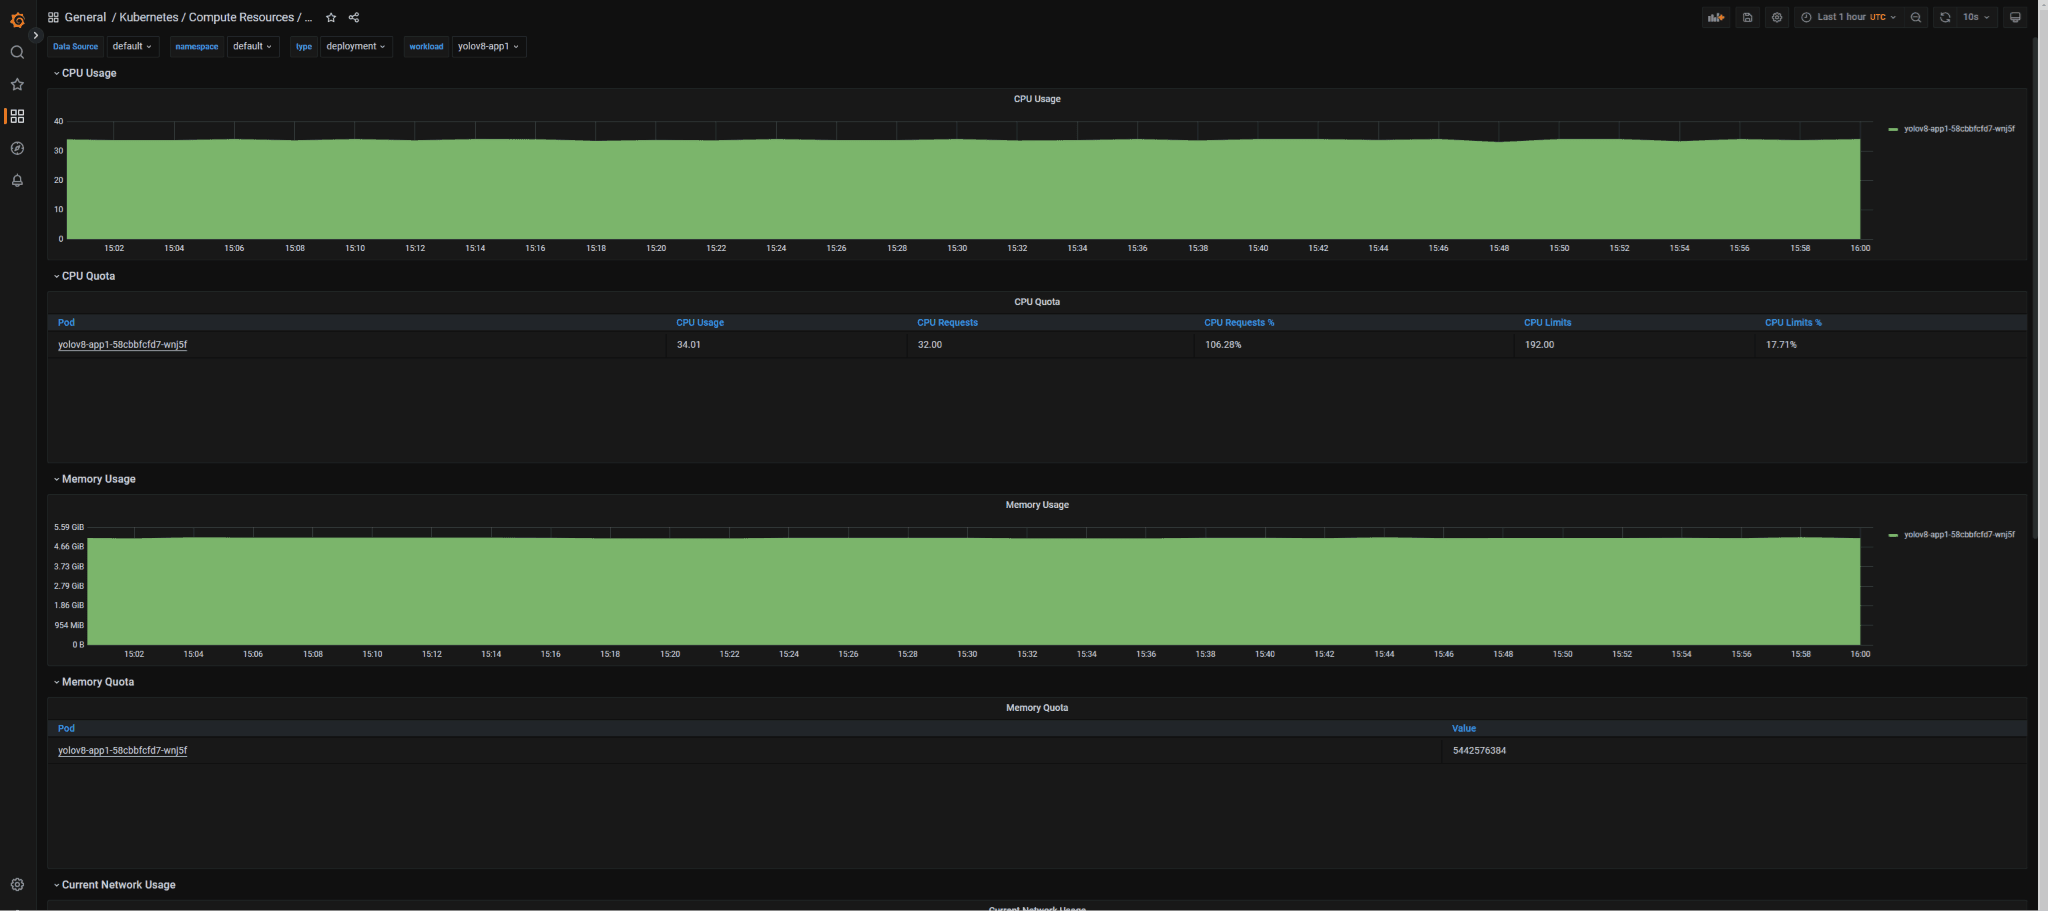
Log in to the Grafana dashboard, then click on Dashboards → Browse → Kubernetes / Compute Resources and select the dashboards you want to display
Deploy YOLOv8 Inference Demo
Apply yolov8-deployment.yaml file to deploy YOLOv8 inference demo
cat << EOF > yolov8-deployment.yaml kind: Service apiVersion: v1 metadata: name: yolov8-app1-svc labels: app: yolov8-app1 spec: ports: - protocol: TCP port: 80 targetPort: 5000 selector: app: yolov8-app1 type: ClusterIP sessionAffinity: None --- apiVersion: apps/v1 kind: Deployment metadata: name: yolov8-app1 spec: selector: matchLabels: app: yolov8-app1 replicas: 1 strategy: type: Recreate template: metadata: labels: # Label is used as selector in the service. app: yolov8-app1 spec: nodeSelector: node-role: node1 containers: - name: yolov8-app1 image: ghcr.io/amperecomputingai/ampere-ai-ref-apps:yolov8-0.3.9 env: - name: SUBTITLE_OVERRIDE value: "1" - name: GRADIO_SERVER_NAME value: "0.0.0.0" - name: GRADIO_SERVER_PORT value: "5000" - name: NTHREADS value: "16" - name: NSTREAMS value: "2" - name: VIDEO_SRC value: "" - name: WEBCAM0_SRC value: "0" - name: WEBCAM1_SRC value: "2" - name: CONFIG_FILE value: 'cfg/config.yaml' ports: - containerPort: 5000 name: yolov8-app1 resources: limits: cpu: "192" requests: cpu: "32" volumeMounts: - mountPath: /dev/video0 name: dev-video0 - mountPath: /dev/video2 name: dev-video2 securityContext: privileged: true volumes: - name: dev-video0 hostPath: path: /dev/video0 - name: dev-video2 hostPath: path: /dev/video2 #nodeSelector: #accept-ai-pod: yolov8-app --- kind: Ingress apiVersion: networking.k8s.io/v1 metadata: name: yolov8-app-ingress annotations: kubernetes.io/ingress.class: public spec: rules: - host: "yolo.microk8s.test" http: paths: - path: / pathType: Prefix backend: service: name: yolov8-app1-svc port: number: 80 EOF
kubectl apply -f yolov8-deployment.yaml
YOLOv8 Inference Demo Instructions
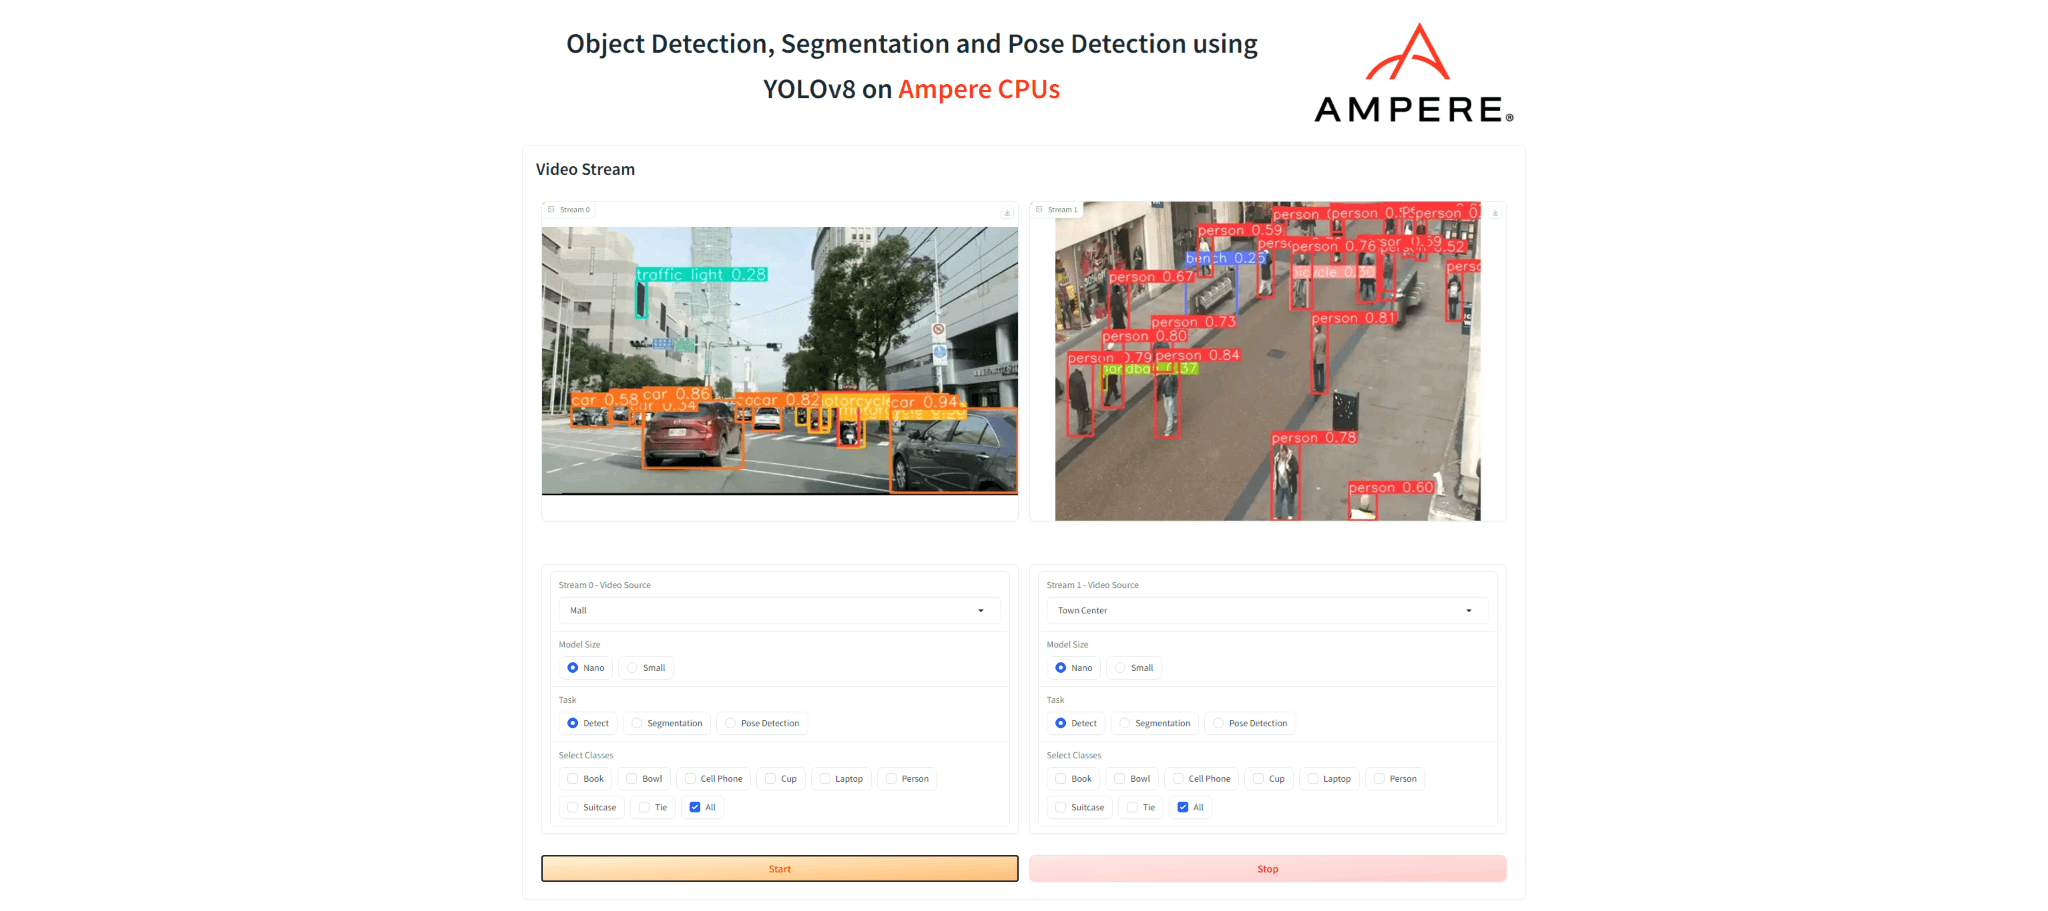
This demo will showcase 2 inference streams running simultaneously.
Access dashboard web UI via https://yolo.microk8s.test
1. Select the source from ‘Stream - Video Source’ Dropdown menu 2. Click ‘Start’ button to start the demo
