Creating Ampere AI Virtual Machines on Microsoft Azure
Tutorial
Spinning up Ampere optimized framework VM on Azure
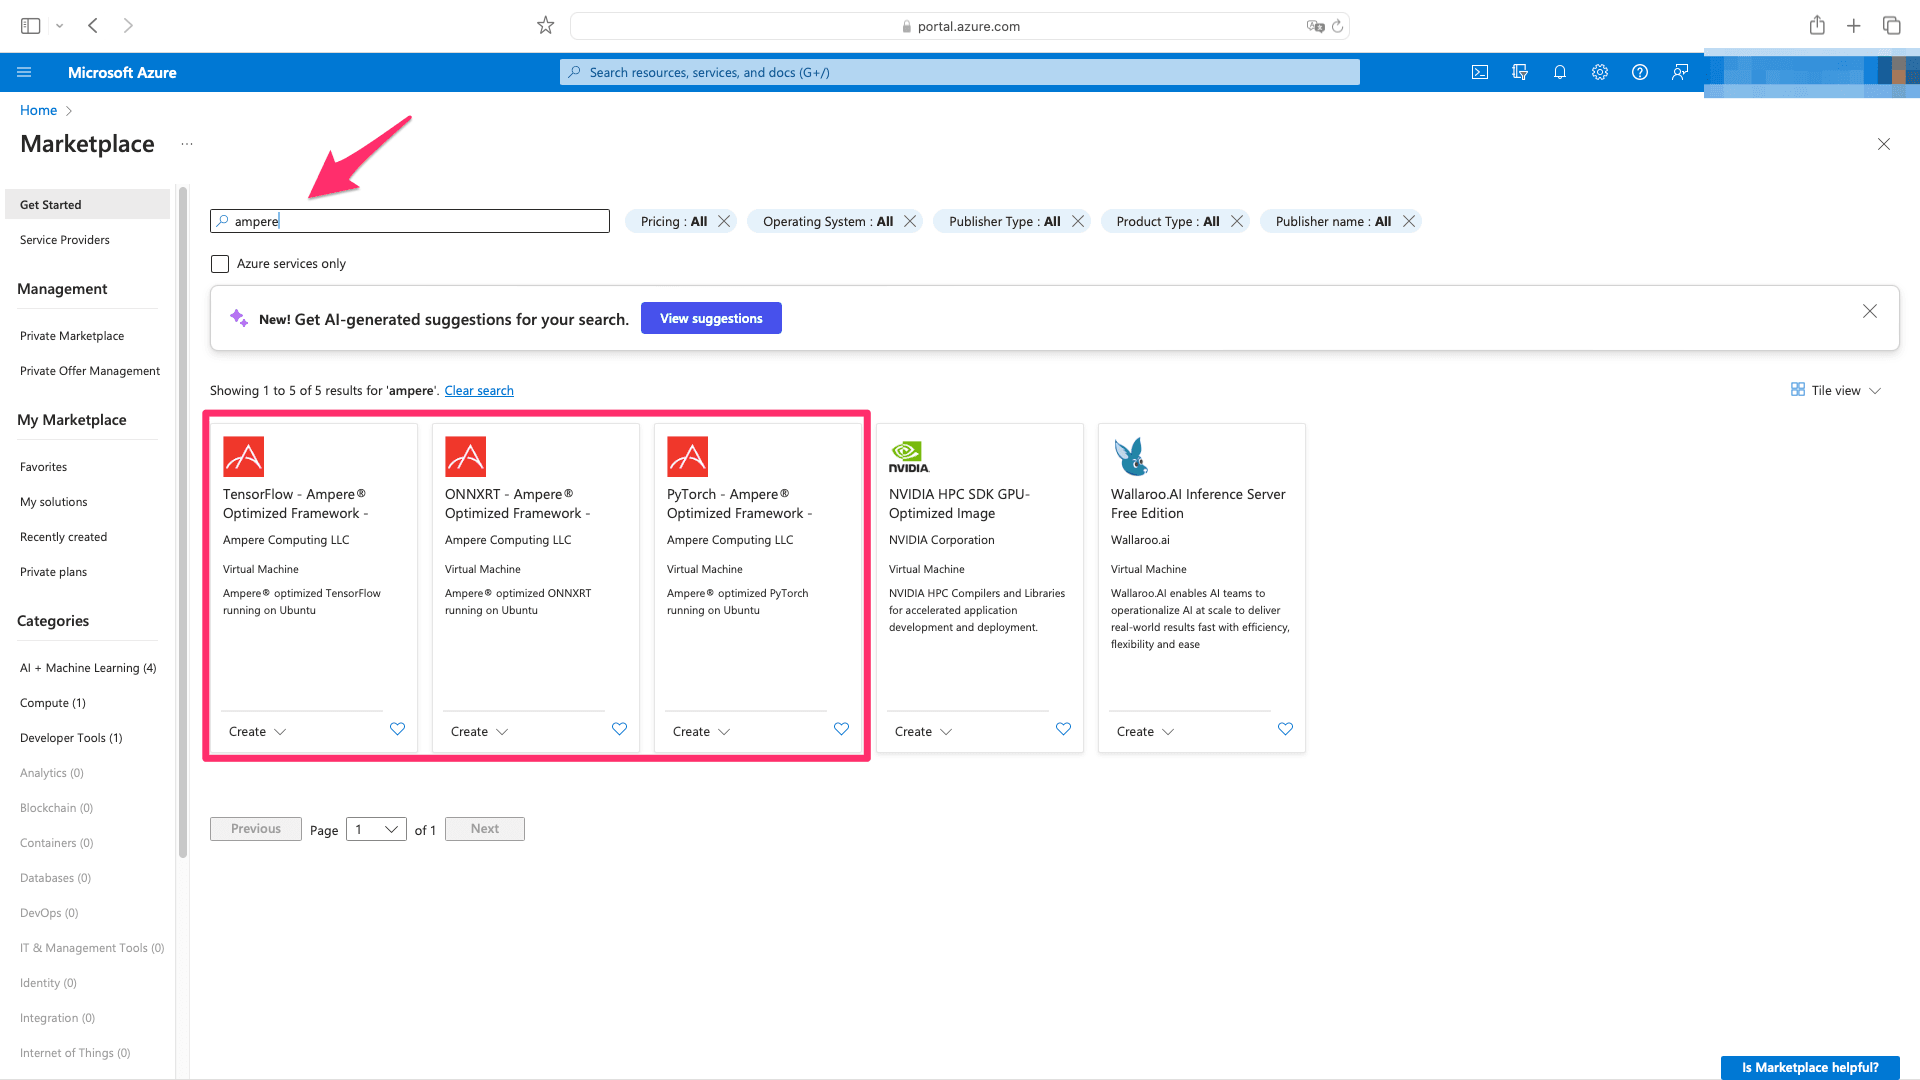
1. Go to marketplace at azure.com and type in “Ampere” into the search box. Select your VM image of choice - we offer Ampere optimized TensorFlow, ONNXRT and PyTorch - then click “Create”.
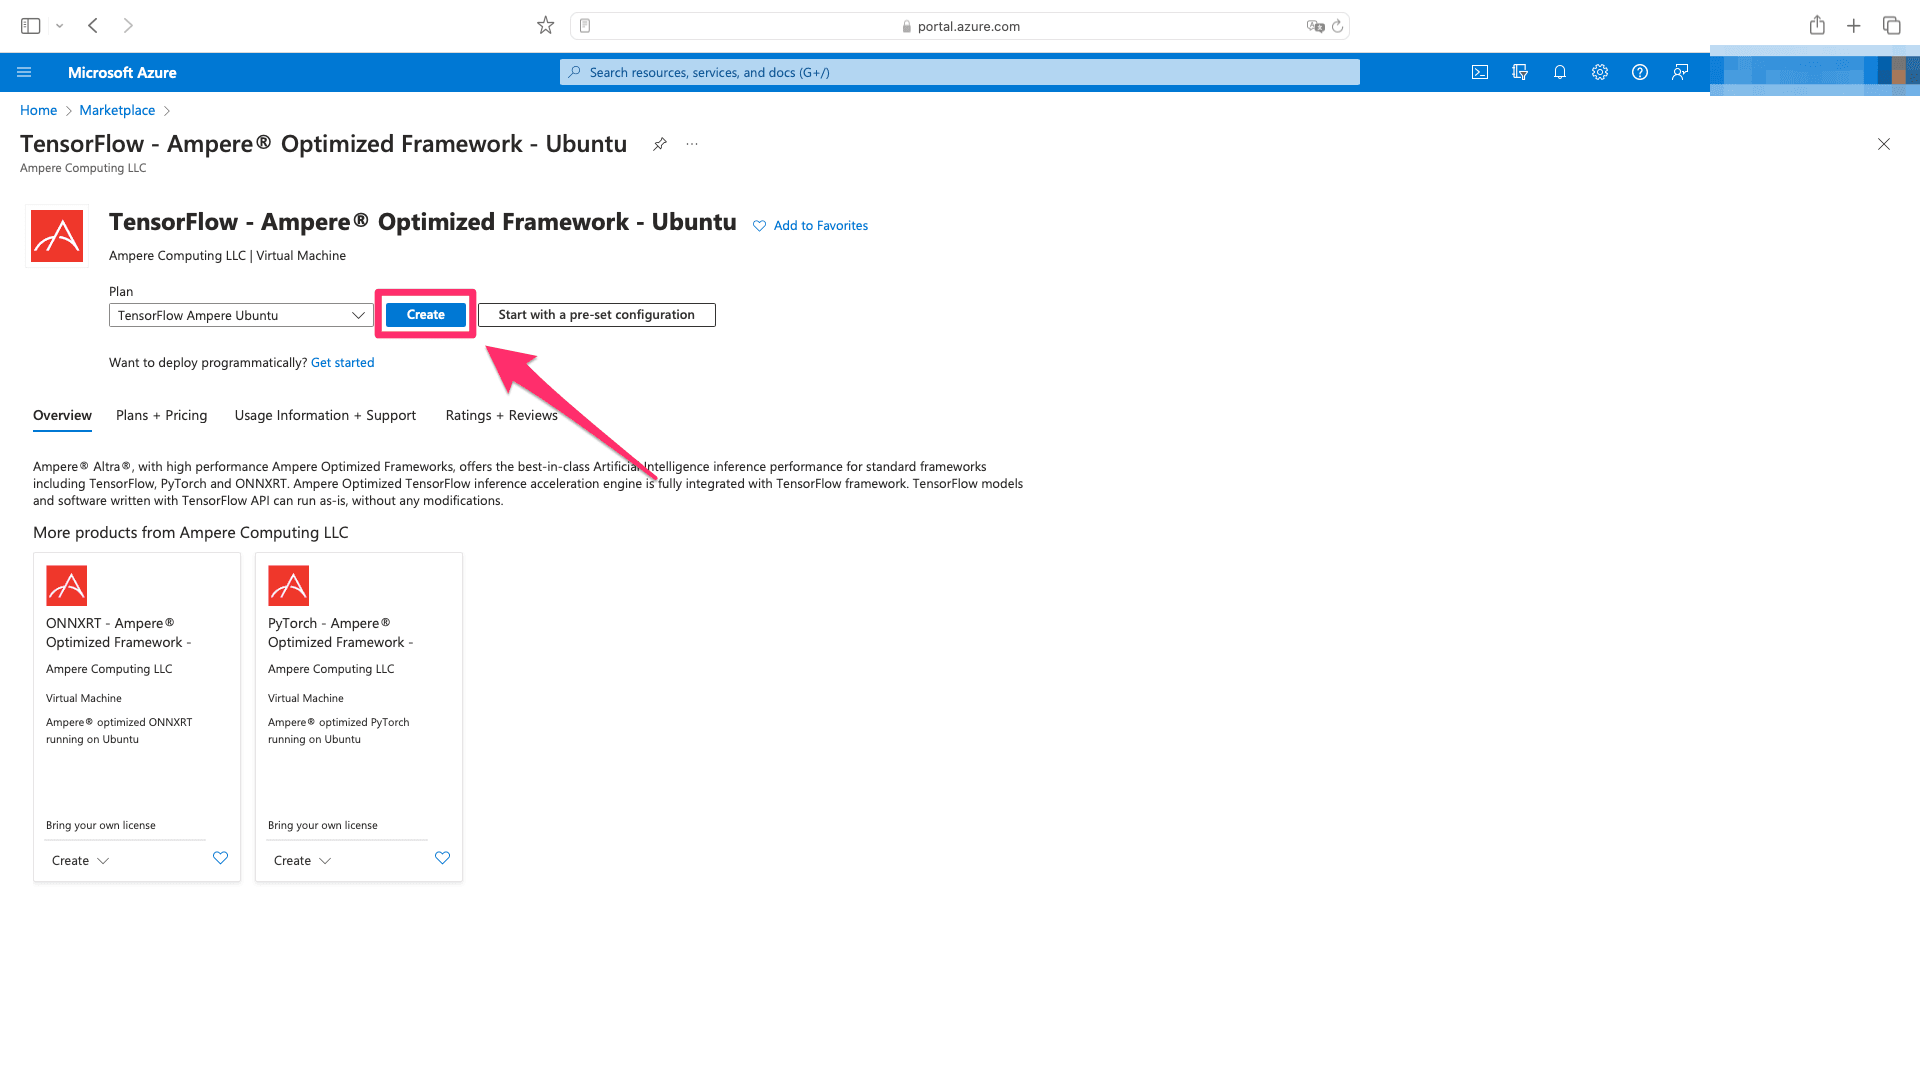
2. Confirm your selection by again hitting “Create".
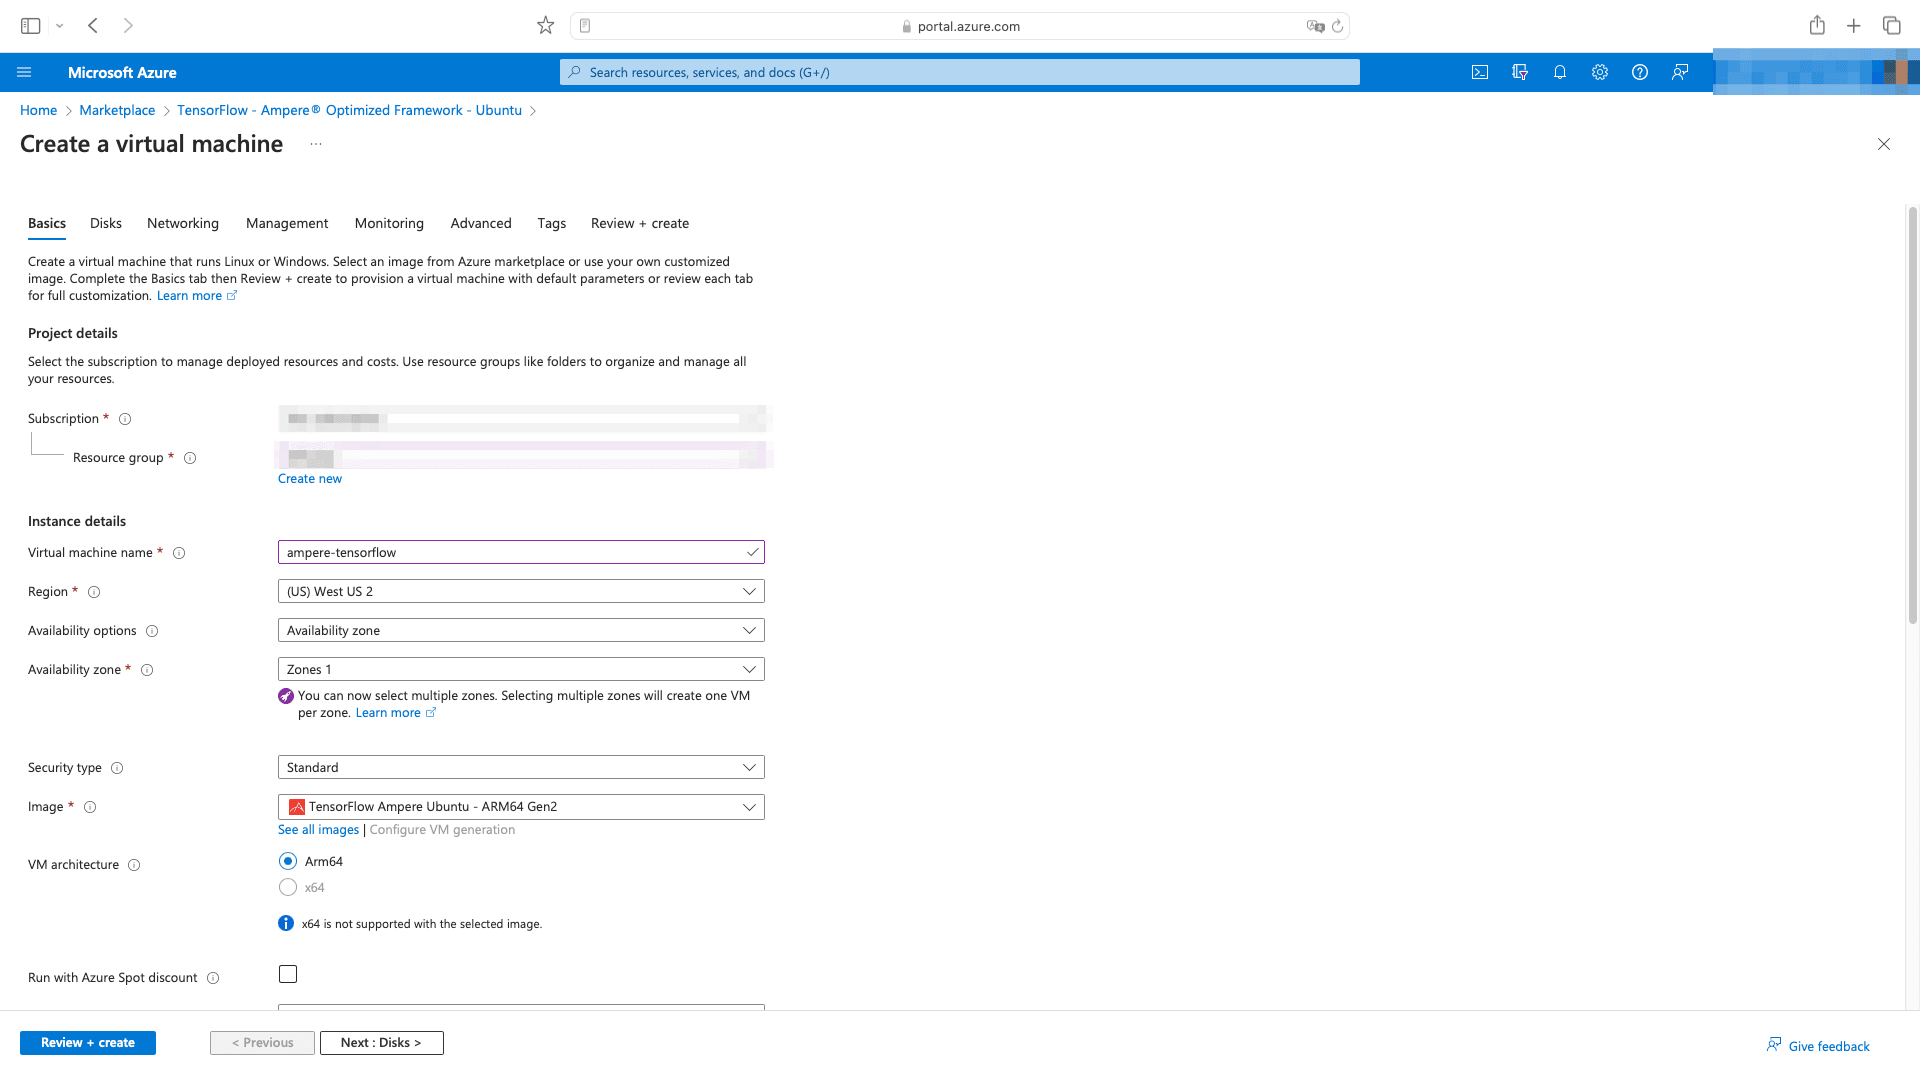
3. Fill out required fields and modify the optional ones based on your requirements.
4. Select a VM shape that will fit your needs. Learn more about various shapes Azure offers here.
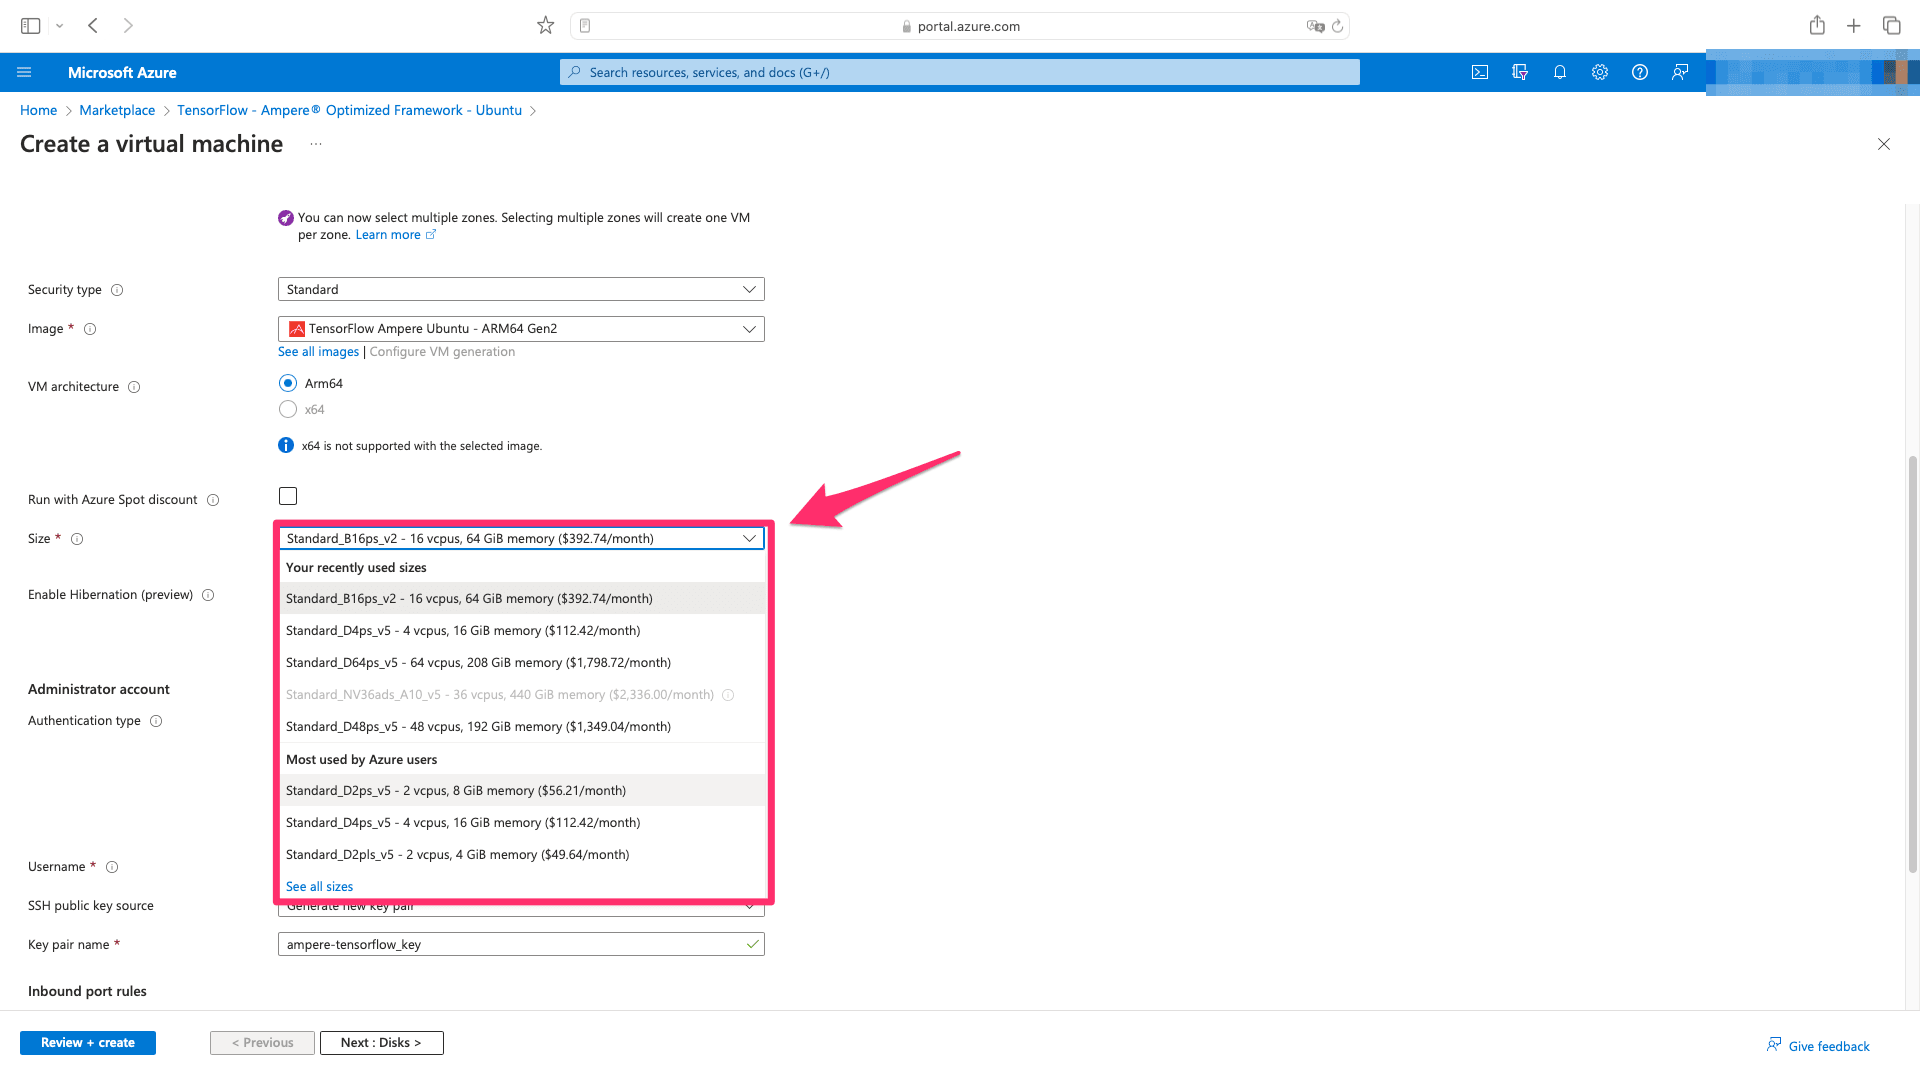
5. Verify your configuration and click on “Review + create”.
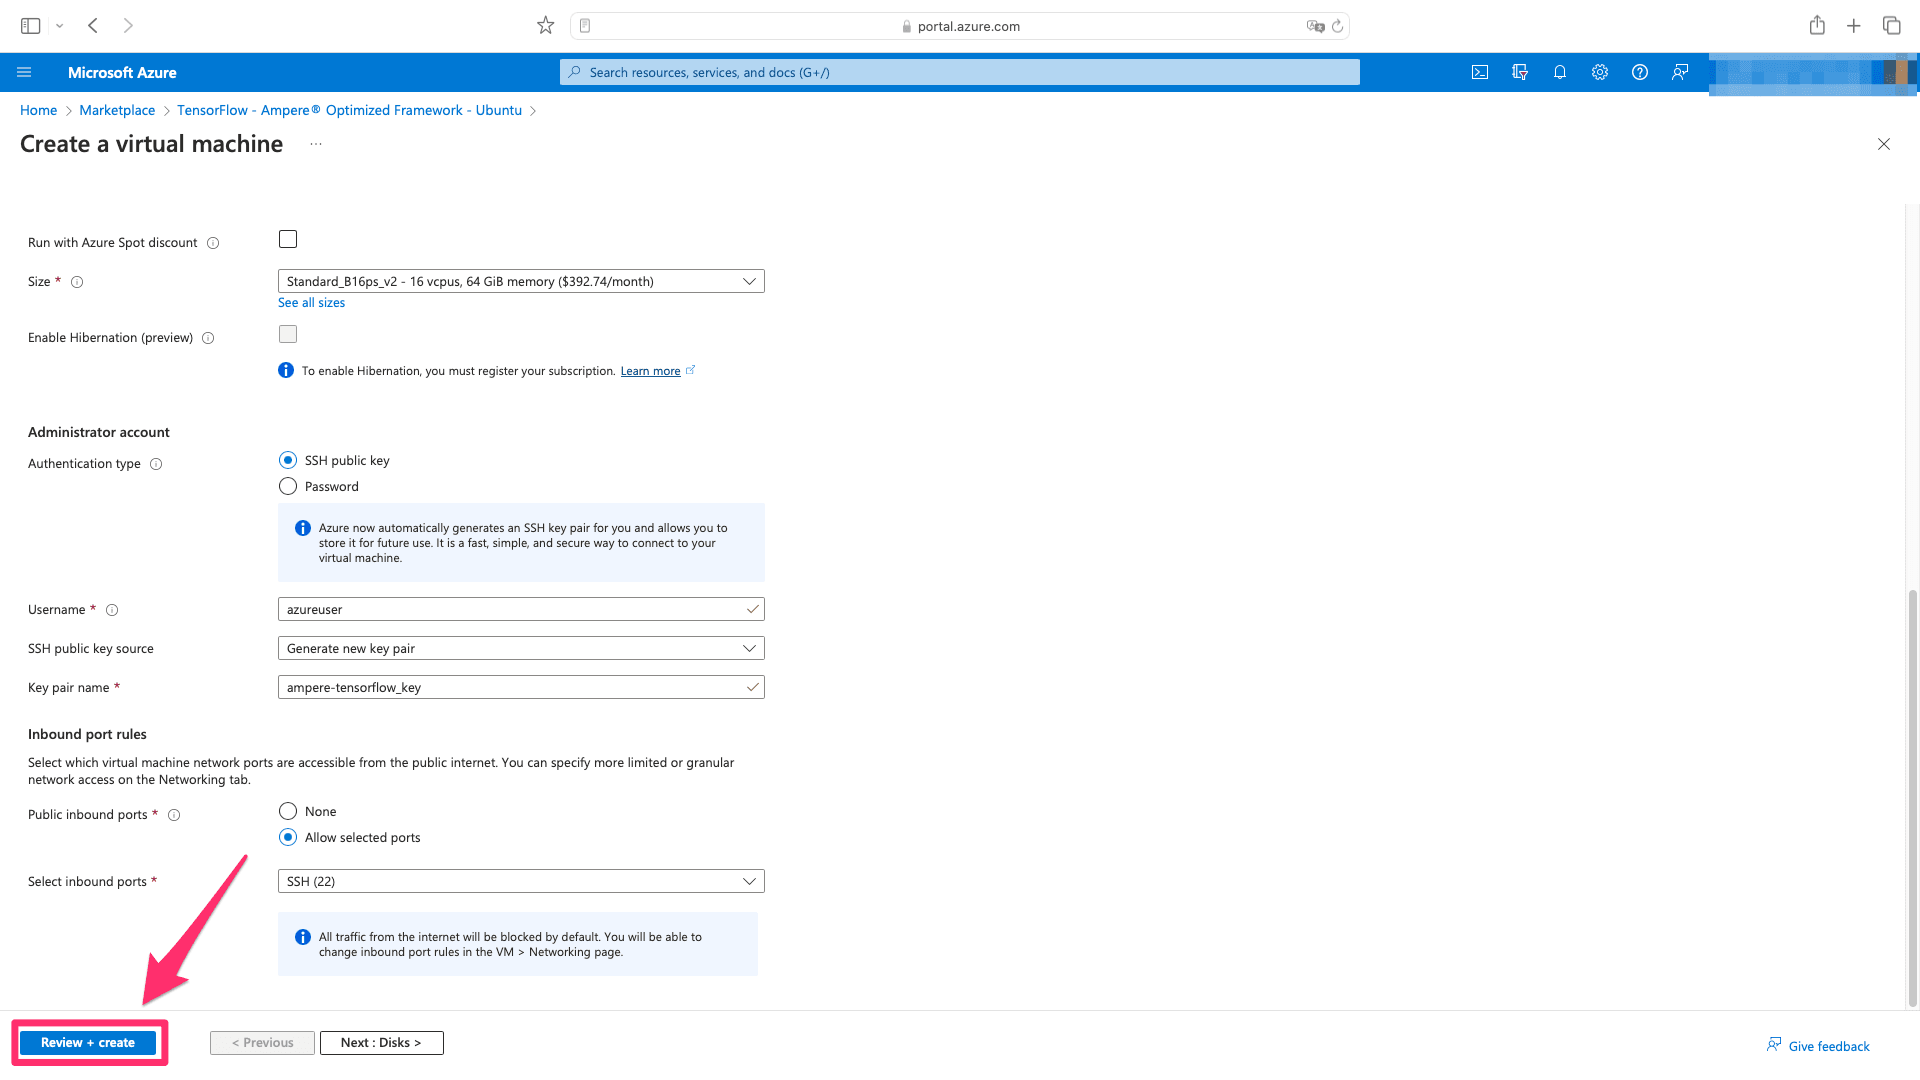
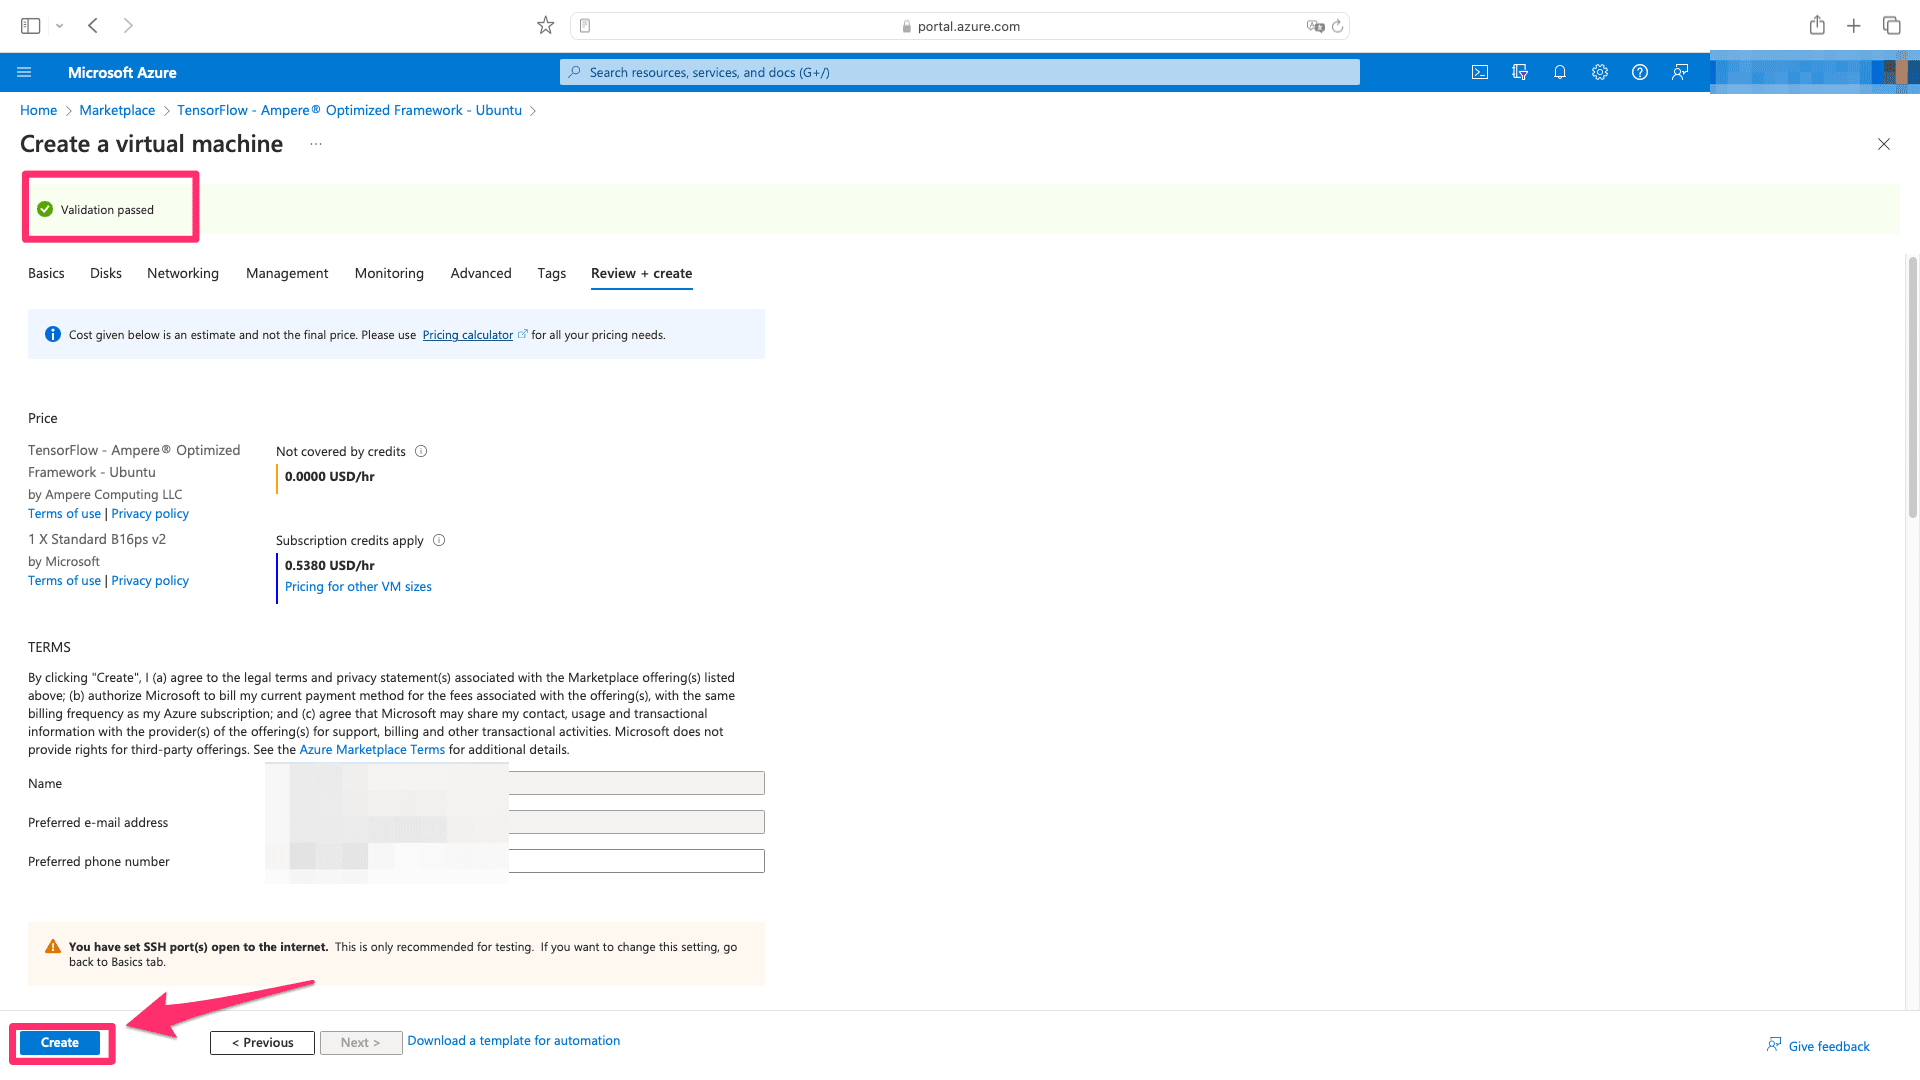
6. After a moment, you should hopefully see “Validation passed”. Continue by clicking “Create”.
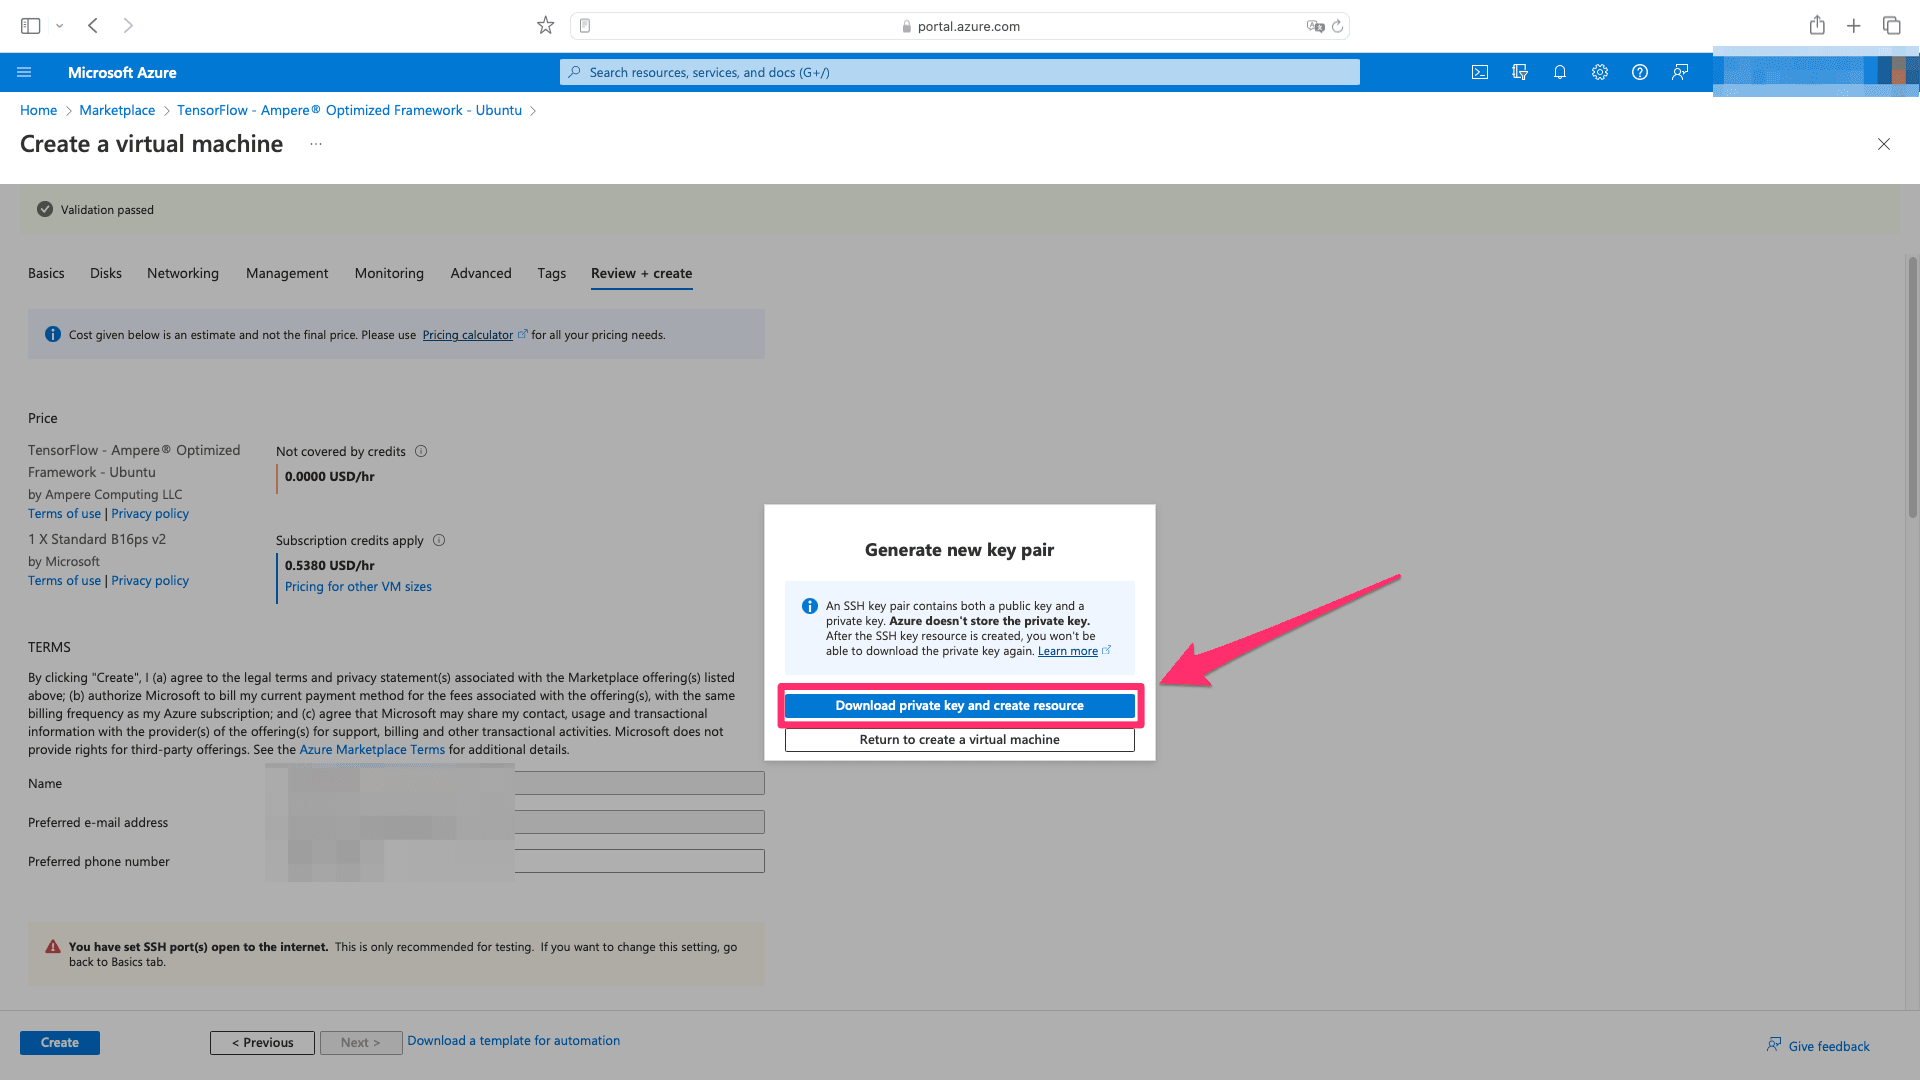
7. You will be prompted to download your generated SSH key in order to access the VM later on - please do so.
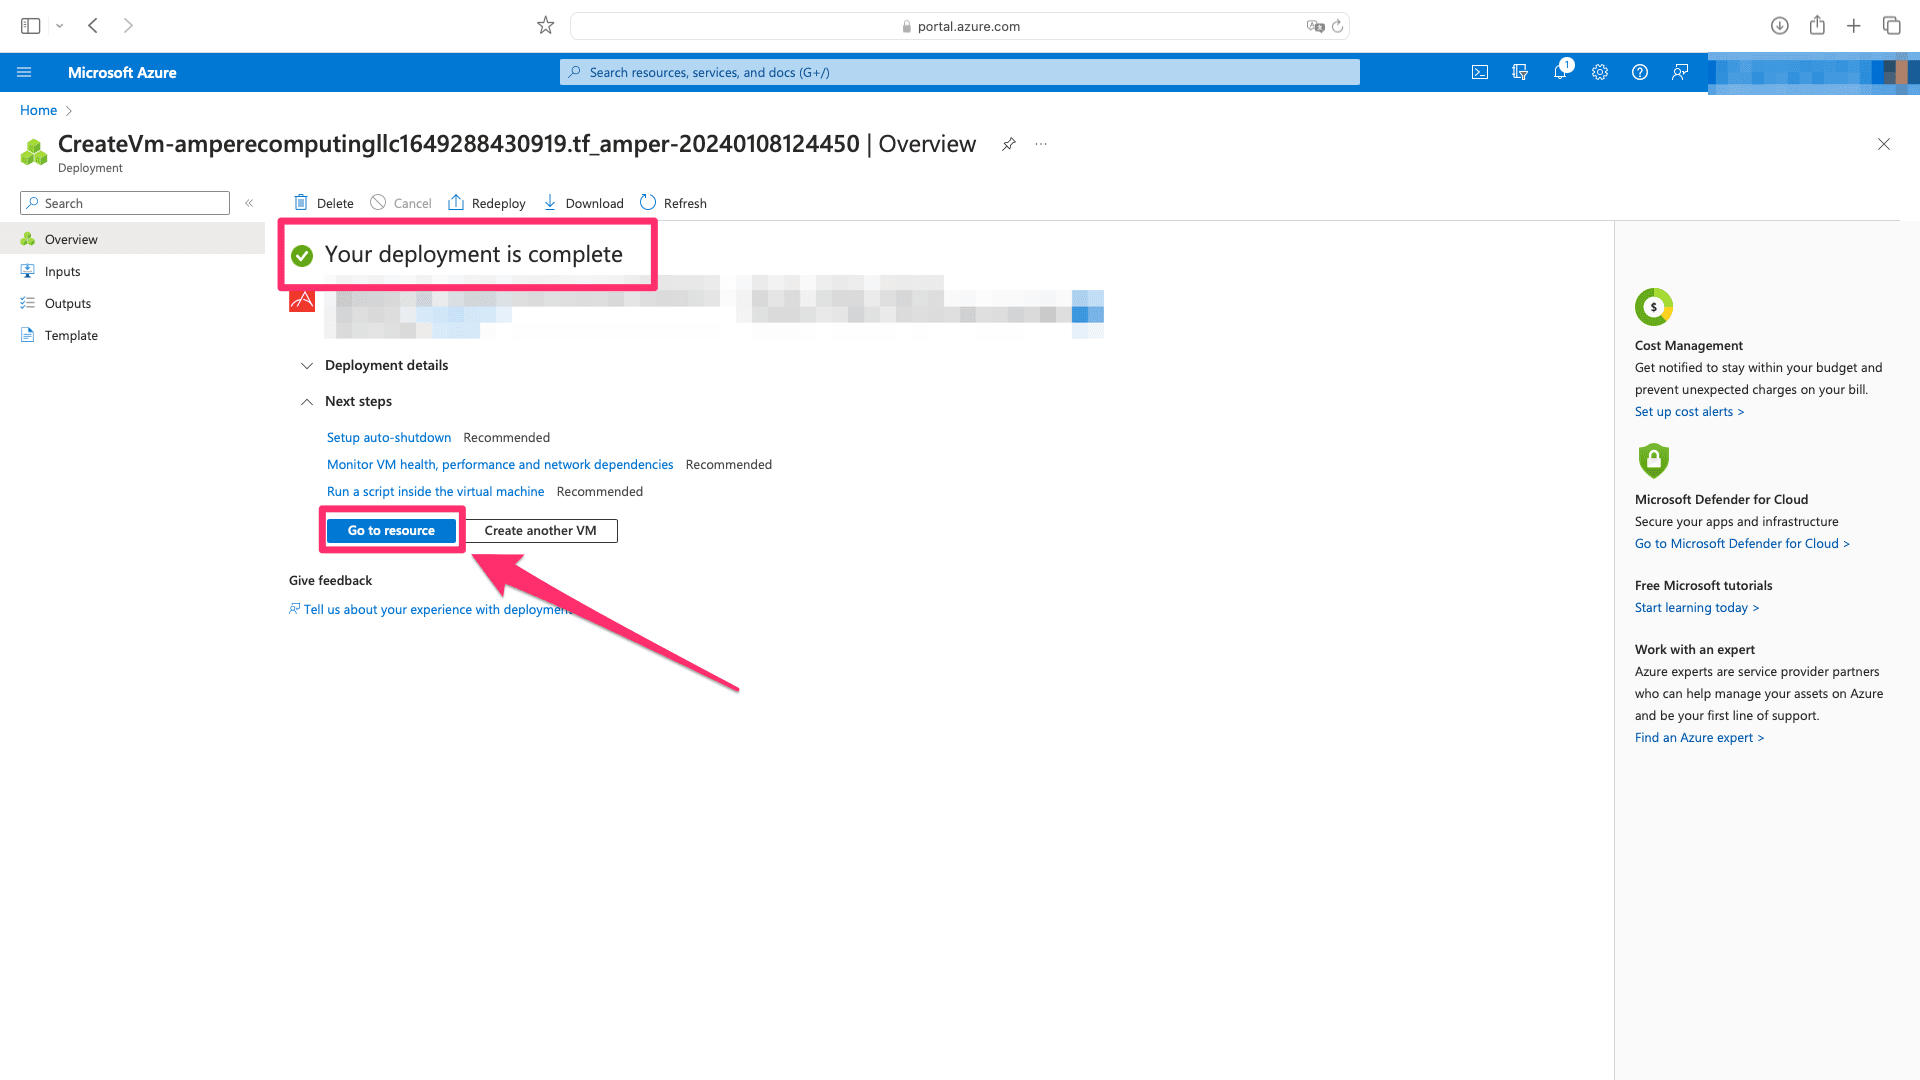
8. Shortly after, you should see “Your deployment is complete” message. Click on “Go to resource”.
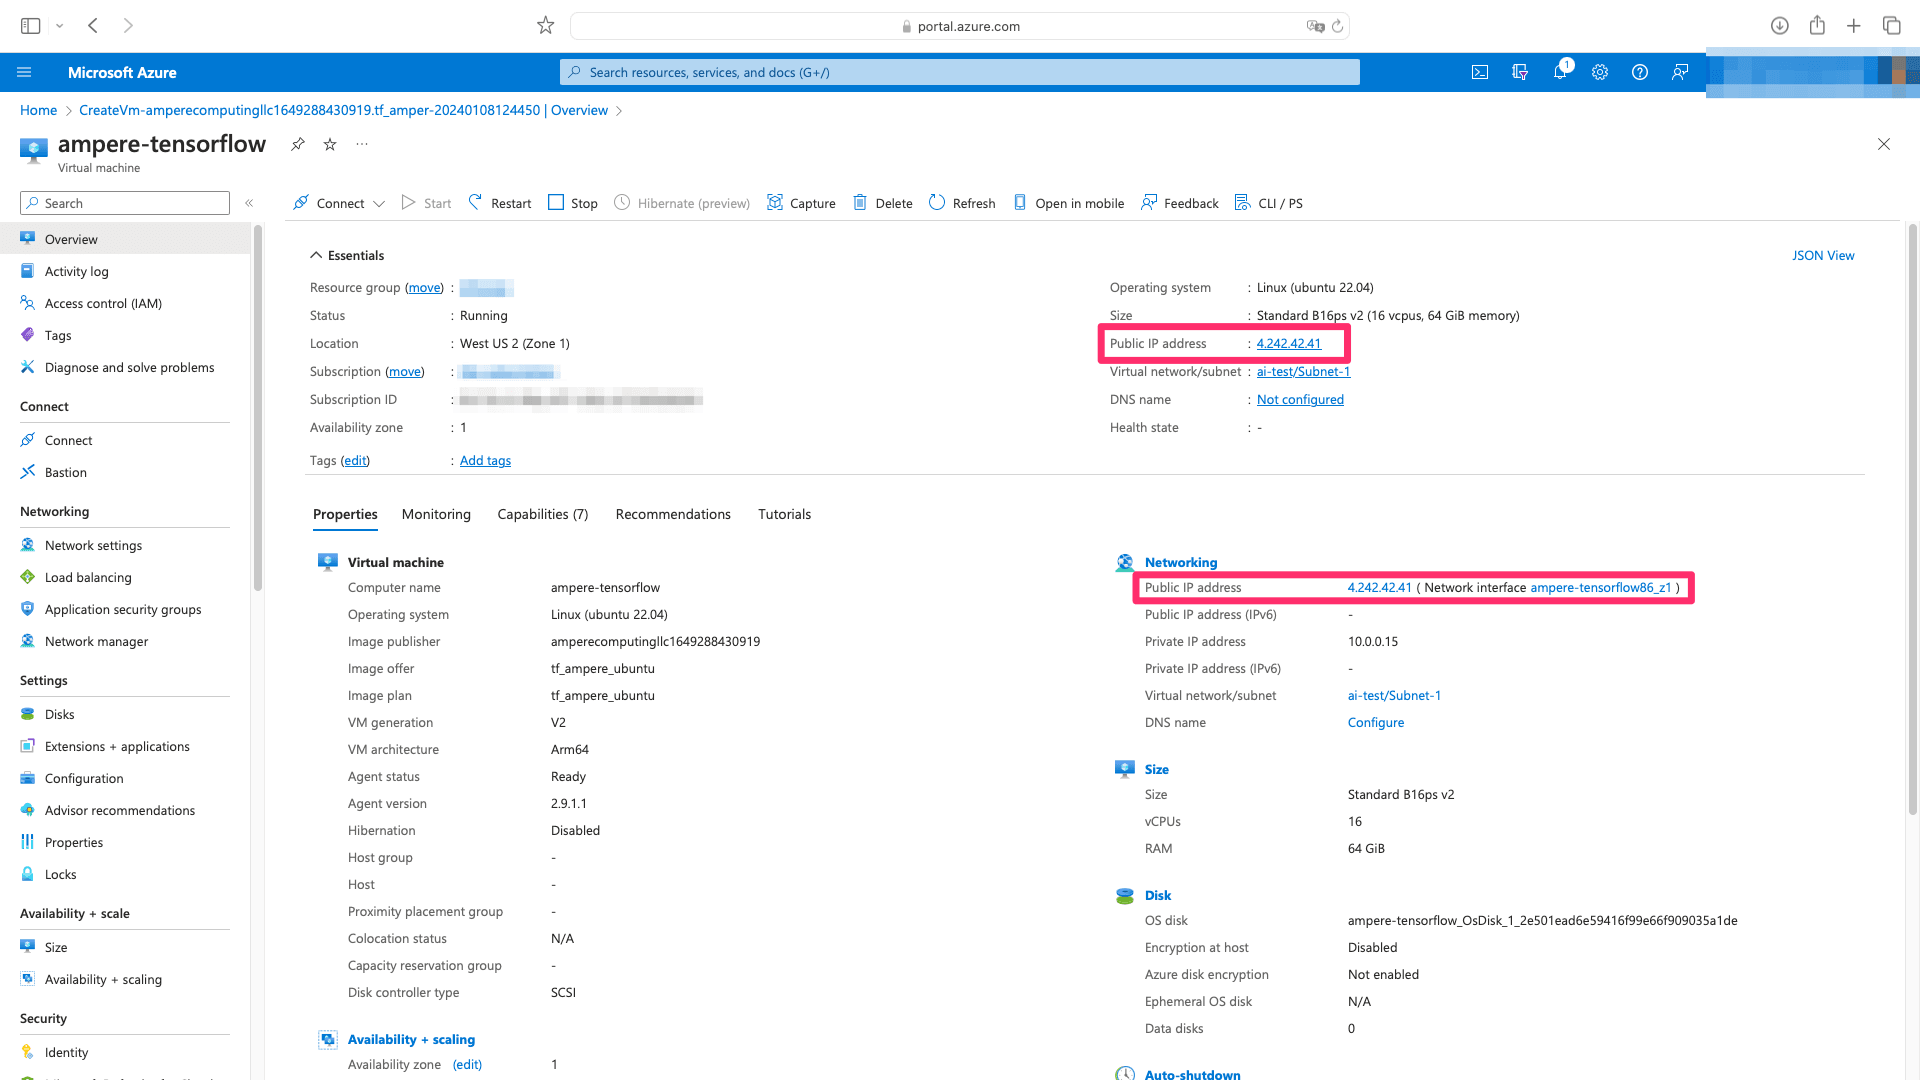
9. Look for public IP address assigned to your freshly created VM and copy it.
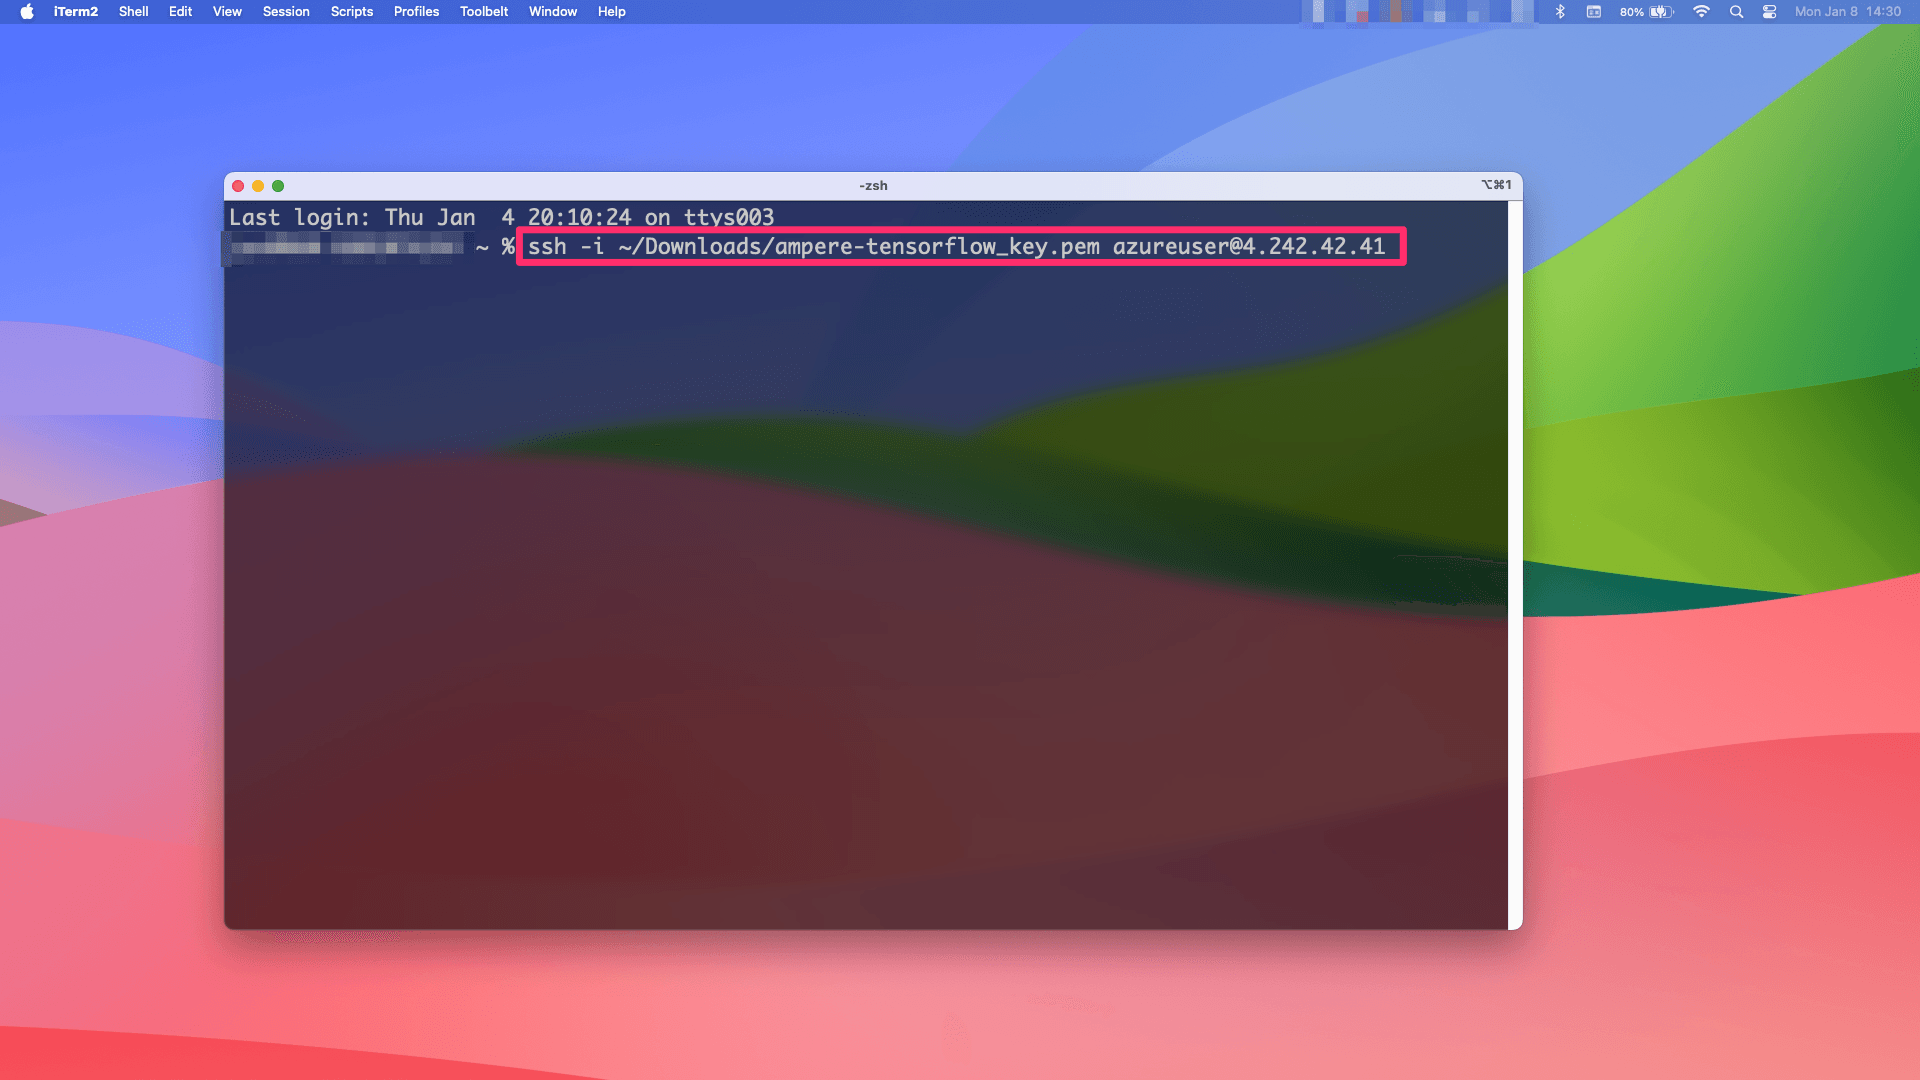
10. Open console on your local system and execute following command after providing path to your previously downloaded SSH key and pasting in the copied IP address. The default user will be named “azureuser”.
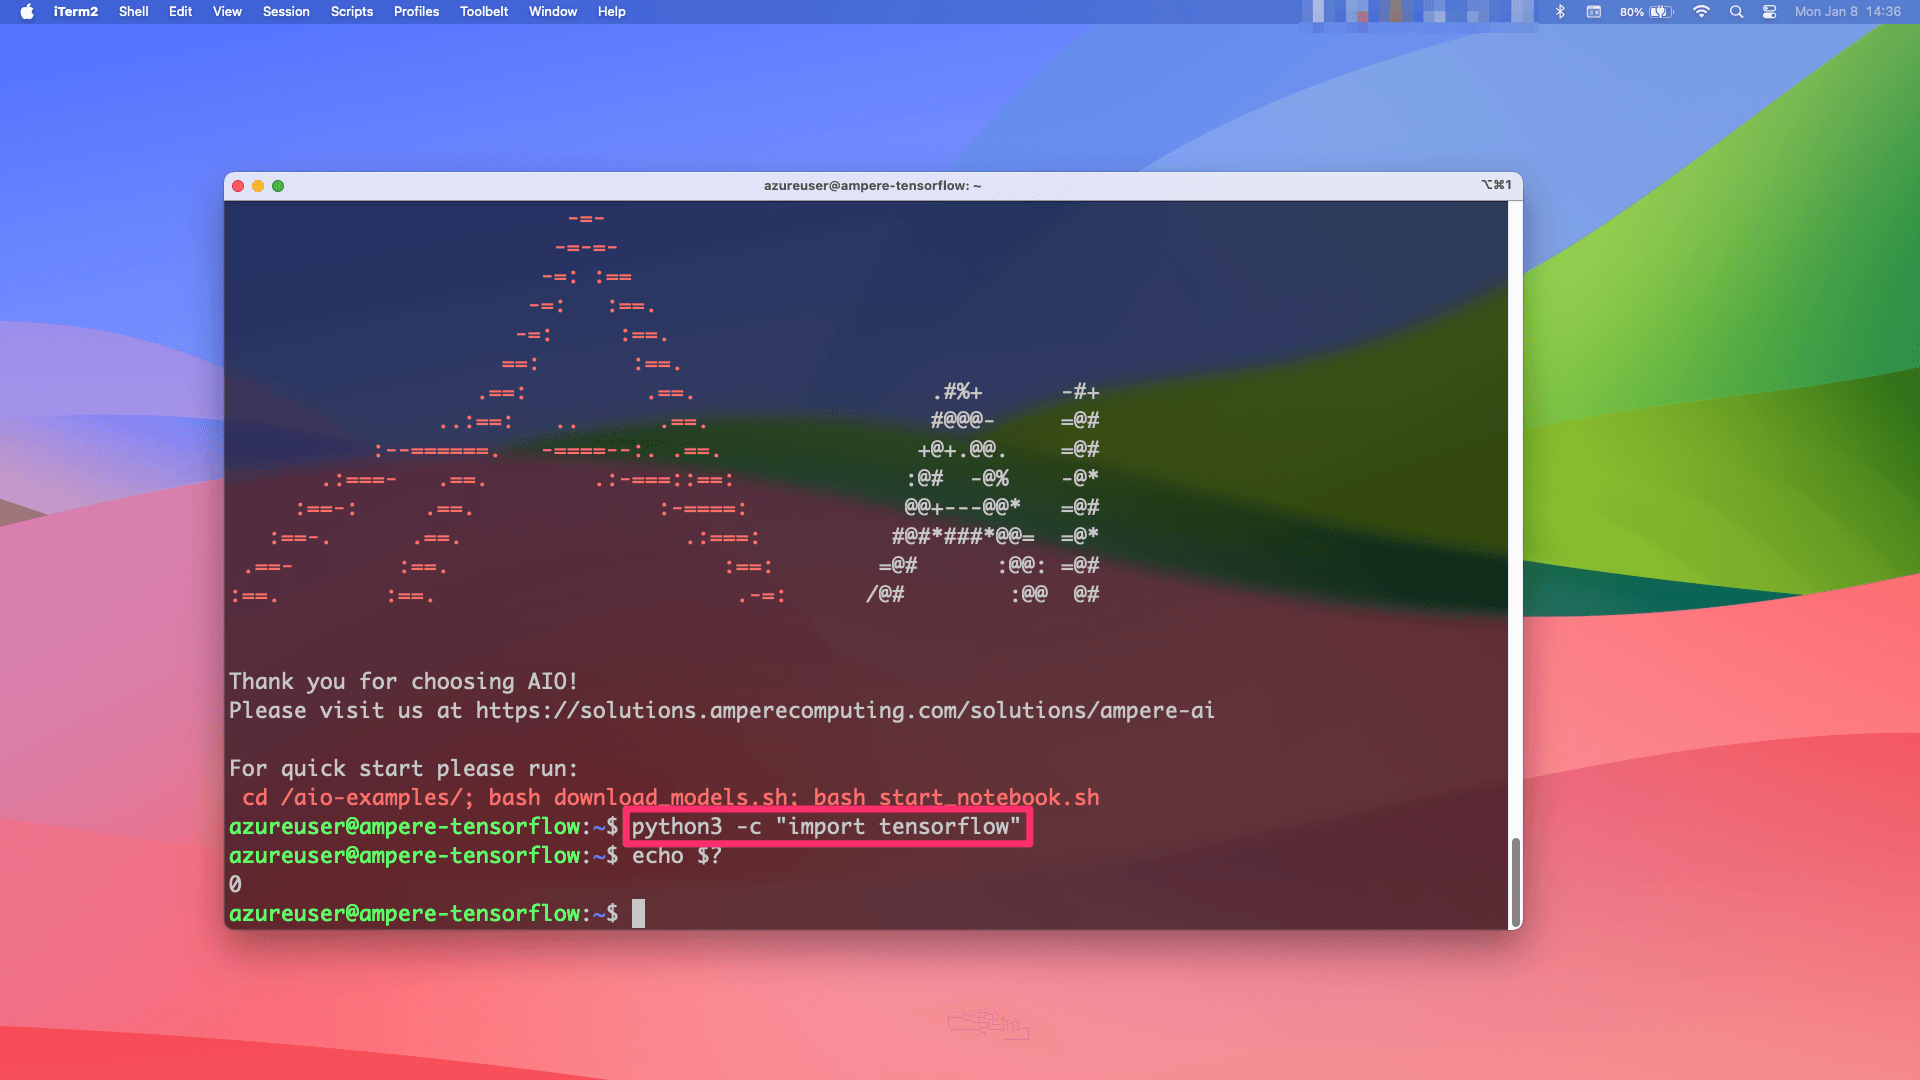
11. Congratulations! You have successfully launched an Ampere optimized VM image at Azure. Verify by importing the library in python and checking the exit code value.
