

Getting started on Azure Ampere VMs
with Debian using Terraform
Overview
Debian is one of the oldest Linux distributions, originally founded over 29 years ago. Since its inception, Debian has been developed openly and distributed freely according to the principles of the GNU Project. The Debian project is coordinated over the Internet by a team of volunteers guided by an elected Debian Project Leader and three foundational documents: the Debian Social Contract, the Debian Constitution, and the Debian Free Software Guidelines. New Debian distributions are updated continually, and the next candidate is released after a time-based freeze.
For those unfamiliar with Debian, it pioneered packaging features like dependency handling. It originated one of the two most popular package formats used by Linux distributions, dpkg, the Debian package format. The Debian distribution packages all the most popular open-source software stacks and developer tooling, making them available for easy installation.
Debian supports the industry standard metadata interfaces for Linux instance configurations in the cloud, Cloud-Init. This allows you to automate your Debian workloads. This also means Debian is perfectly suitable when using it on a cloud platform.
Personally speaking, I have been working with the great team at the Debian Project for some time. The Debian Project is using Ampere Platforms to develop, build and curate packages for each release. I’ve had the pleasure of watching their craftmanship in building their distribution and achieving the “it just works” experience for Aarch64 and Ampere platforms and customers who choose to build and run solutions on Debian. Recently, Microsoft announced the general availability of Ampere Altra based processors in Azure. Debian is one of the available operating systems for use on Ampere VMs utilizing our cloud-native Ampere(R) Altra(TM) Aarch64 processors within Azure. In this post, we will build upon previous work to quickly automate using Debian on Ampere(R) Altra(TM) Arm64 processors using Ampere VMs within Azure.
Requirements
For this tutorial, we will use Terraform as to automate instance deployment. If you have seen my previous session from Microsoft Build on Cloud Workload Automation, I built a terraform module to quickly get you started using Ampere platforms on Azure. Today we are going to use that module to launch a Debian virtual machine and pass in some metadata to configure it.
Using the azure-ampere-vm terraform module
The azure-ampere-vm terraform module code supplies the minimal amount of information to quickly have working Ampere A1 instances on Azure. It has been updated to include the ability to easily select Debian by passing the appropriate parameter during usage. Additional tasks performed by the azure-ampere-vm terraform module.
- Operating system choice abstraction.
- Dynamically creating ssh keys to use when logging into the instance.
- Creating necessary core networking configurations for the tenancy
- Rendering metadata to pass into the Azure Ampere VMs.
- Launch N number of Azure Ampere VMs with metadata and ssh keys.
- Output IP information to connect to the instance.
Configuration with terraform.tfvars
For the purpose of this we will quickly configure Terraform using a terraform.tfvars in the project directory. The following is an example of what terraform.tfvars should look like:
subscription_id = "12345678-abcd-1234-abcd-1234567890ab" tenant_id = "87654321-dcba-4321-dcba-ba0987654321"
For more information regarding how to get your Azure credentials working with terraform please refer to the following reading material:
Creating the main.tf
To use the terraform module you must open your favorite text editor and create a file called main.tf. Copy the following code which passes in necessary parameters and allows you to supply a custom cloud-init template at launch:
variable "subscription_id" {} variable "tenant_id" {} locals { cloud_init_template_path = "${path.cwd}/cloud-init.yaml.tpl" } module "azure-ampere-vm" { source = "github.com/amperecomputing/terraform-azure-ampere-vm" subscription_id = var.subscription_id tenant_id = var.tenant_id # Optional # resource_group = var.resource_group # rg_prefix = var.rg_prefix # virtual_network_name = var.virtual_network_name # address_space = var.address_space # subnet_prefix = var.subnet_prefix # vm_size = var.vm_size location = "westus2" azure_vm_count = 1 azure_os_image = "debian11" instance_prefix = "azure-ampere-vm-debian-11" cloud_init_template_file = local.cloud_init_template_path } output "azure_ampere_vm_private_ips" { value = module.azure-ampere-vm.azure_ampere_vm_private_ipaddresses } output "azure_ampere_vm_public_ips" { value = module.azure-ampere-vm.azure_ampere_vm_public_ipaddresses }
Creating a cloud init template
Using your favorite text editor create a file named cloud-init.yaml.tpl in the same directory as the main.tf you previously created and copy the following content into that template file. This will run after the instance is launched. The cloud-init script adds the Docker repository to the sources of the VM after initalization, including the public key that will be used to verify signed packages, installs a number of required packages, and ensures that the default user is a member of the docker group, so that they have permission to run docker commands.. Finally, we will run a simple container registry on the Debian host.
#cloud-config apt: sources: docker.list: source: deb [arch=arm64] https://download.docker.com/linux/debian $RELEASE stable keyserver: pgp.mit.edu key: | -----BEGIN PGP PUBLIC KEY BLOCK----- #<Enter your own public key block -----END PGP PUBLIC KEY BLOCK----- bootcmd: - curl -fsSL https://download.docker.com/linux/ubuntu/gpg | sudo apt-key add - package_update: true package_upgrade: true packages: - screen - rsync - git - curl - python3-pip - python3-dev - python3-selinux - python3-setuptools - python3-venv - libffi-dev - gcc - libssl-dev - apt-transport-https - ca-certificates - curl - gnupg-agent - software-properties-common groups: - docker system_info: default_user: groups: [docker] runcmd: - curl -fsSL https://download.docker.com/linux/ubuntu/gpg | sudo apt-key add - - sudo apt-get update -y && apt-get install -y docker-ce docker-ce-cli - docker run -d --name registry --restart=always -p 4000:5000 -v registry:/var/lib/registry registry:2 - pip3 install -U pip - pip3 install -U wheel - echo 'Azure Ampere VM Debian 11 Example' >> /etc/motd
Running Terraform
Executing terraform is broken into three commands. First, you must initialize the terraform project with the modules and necessary plugins to support proper execution. The following command will do that:
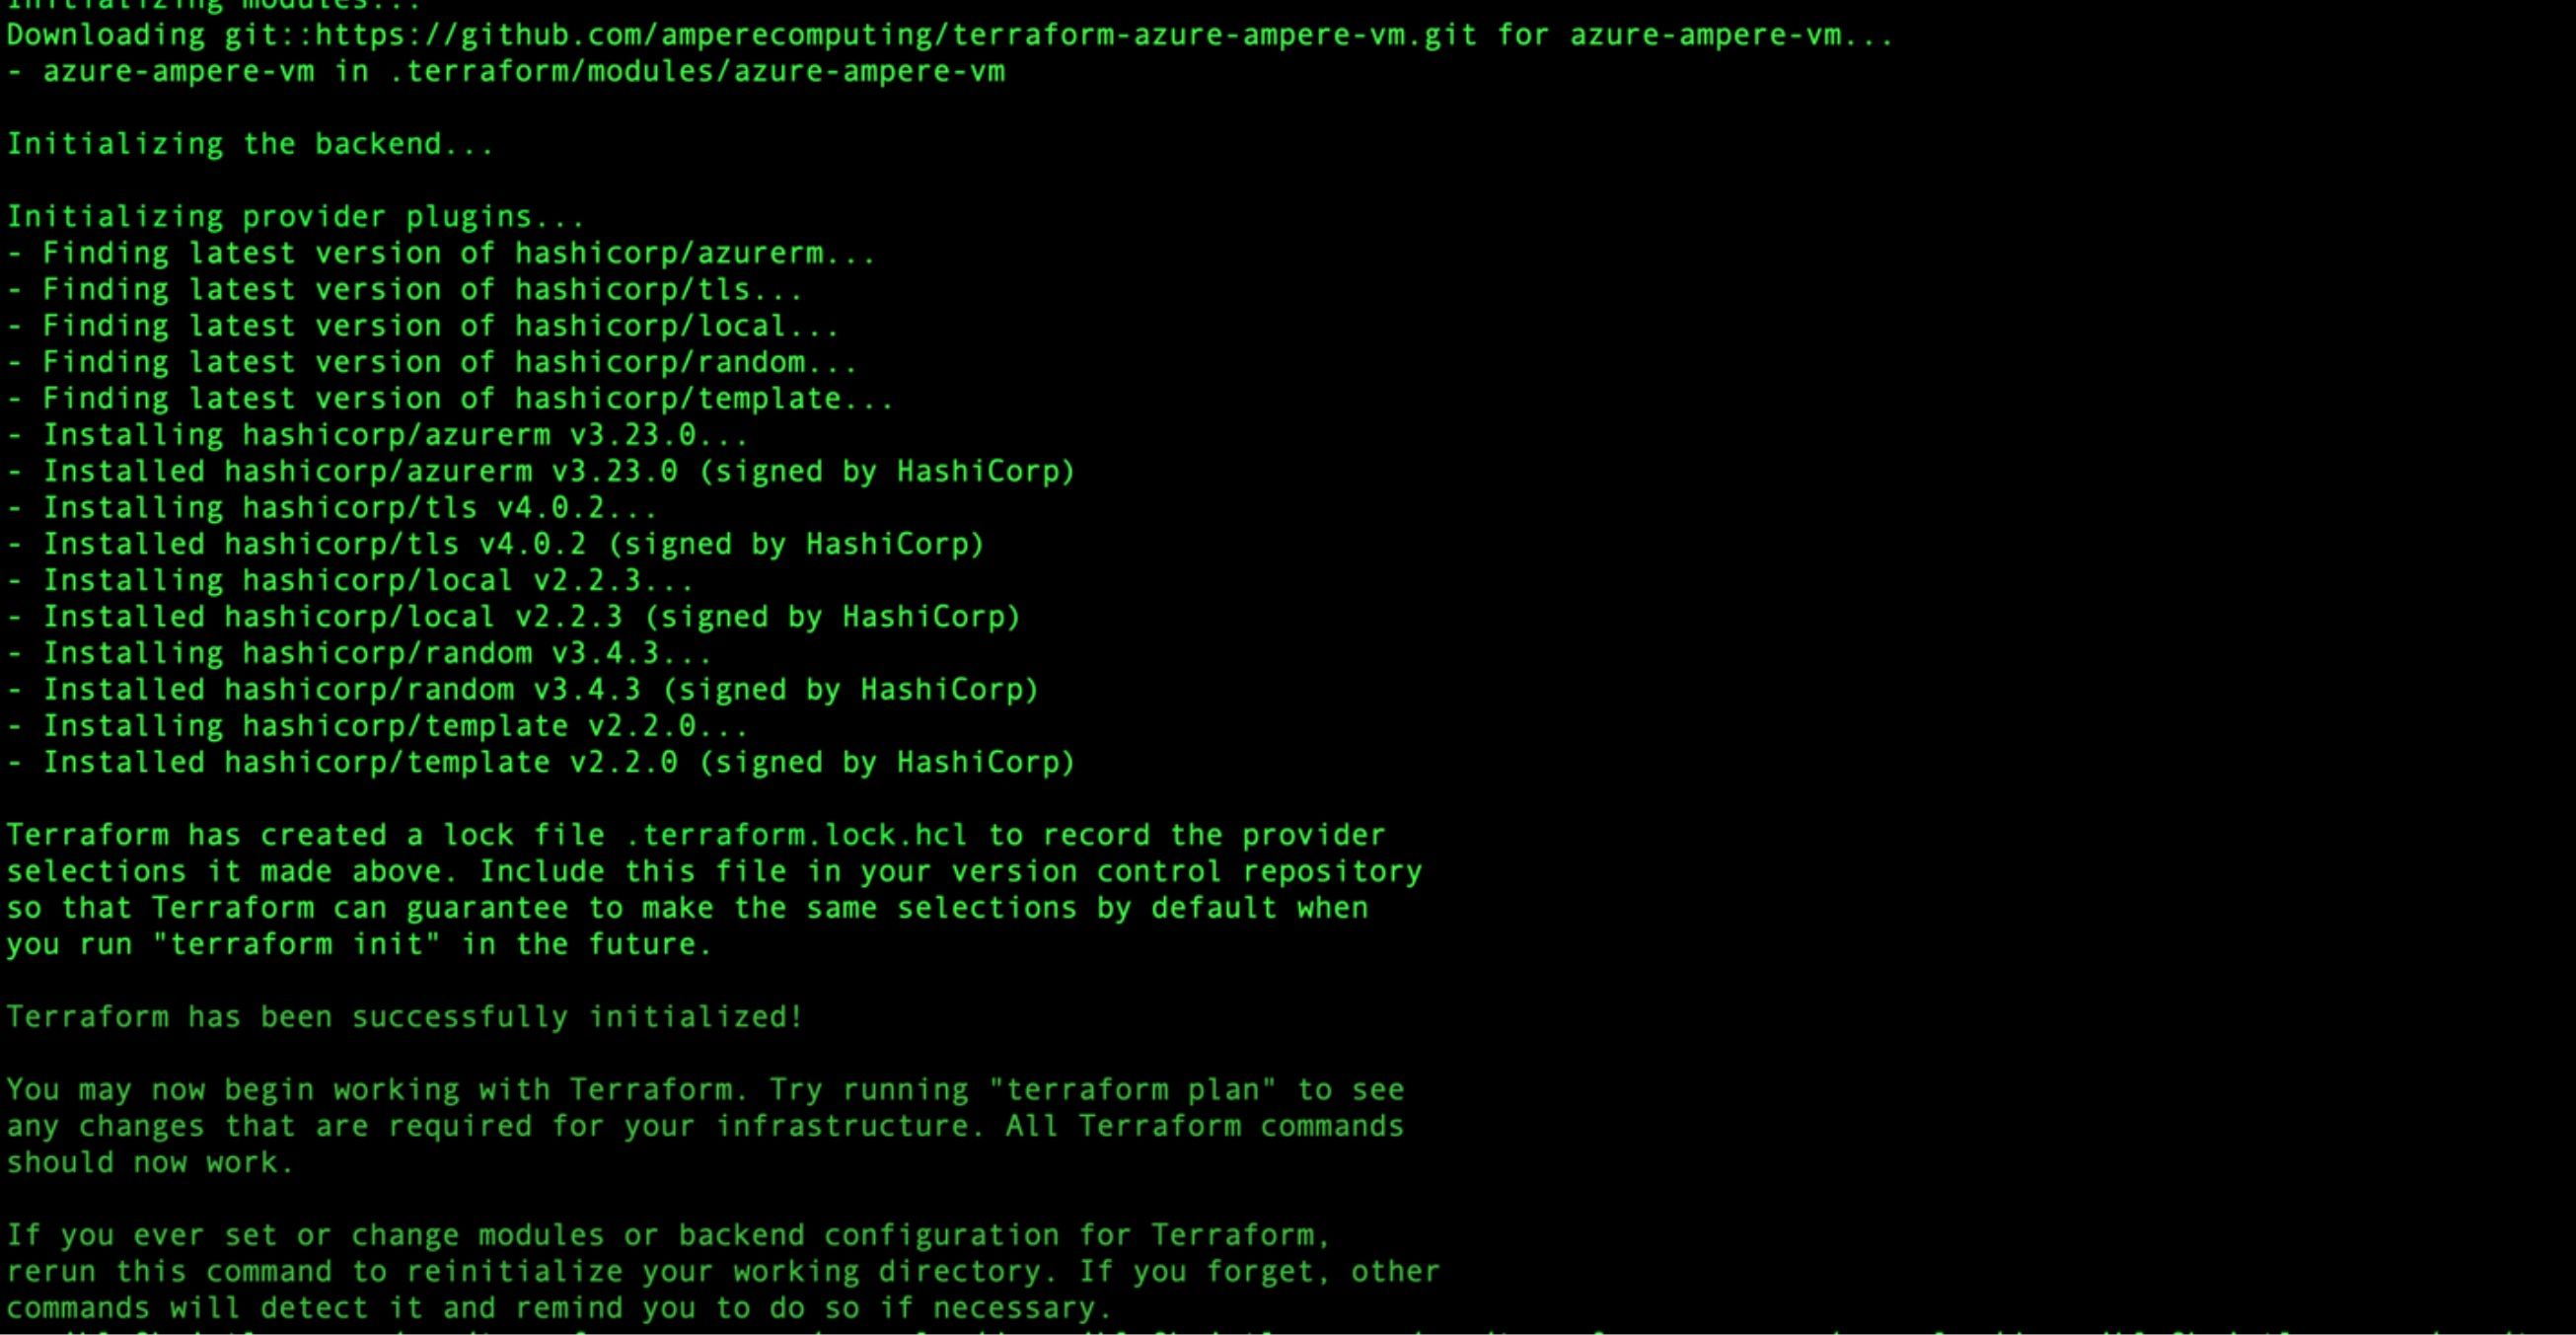
terraform init
Below is output from a ‘terraform init’ execution within the project directory.
After ‘terraform init’ is executed it is necessary to run ‘plan’ to see the tasks, steps and objects that will be created by interacting with the cloud APIs. Errors with the code or configuration will typically be detected during this phase without creating any objects. Executing the following from a command line will do so:
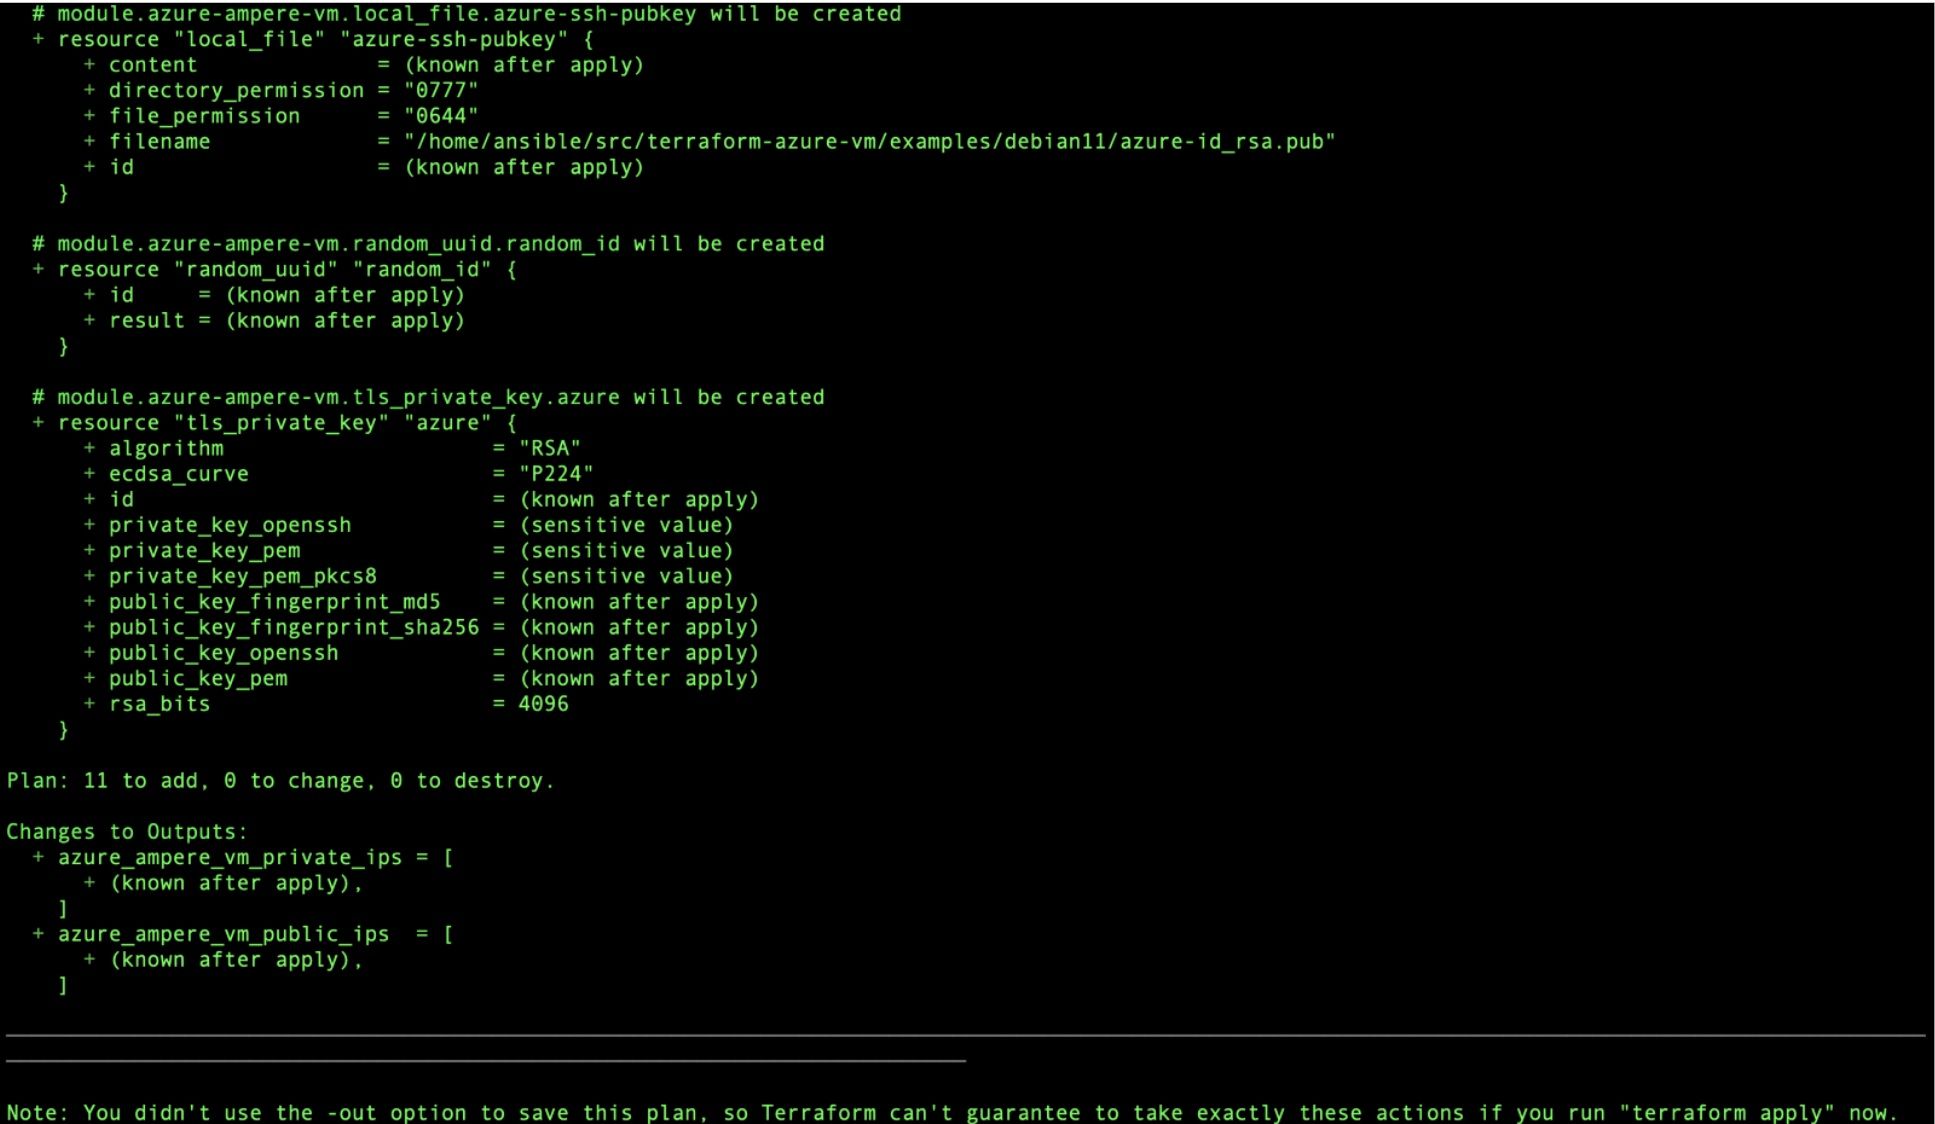
terraform plan
The output from a ‘terraform plan’ execution in the project directory will look like the following:
Finally, you will execute the ‘apply’ phase of the terraform execution sequence. This will create all the objects, execute all the tasks and display any output that is defined. Executing the following command from the project directory will automatically execute without requiring any additional interaction:
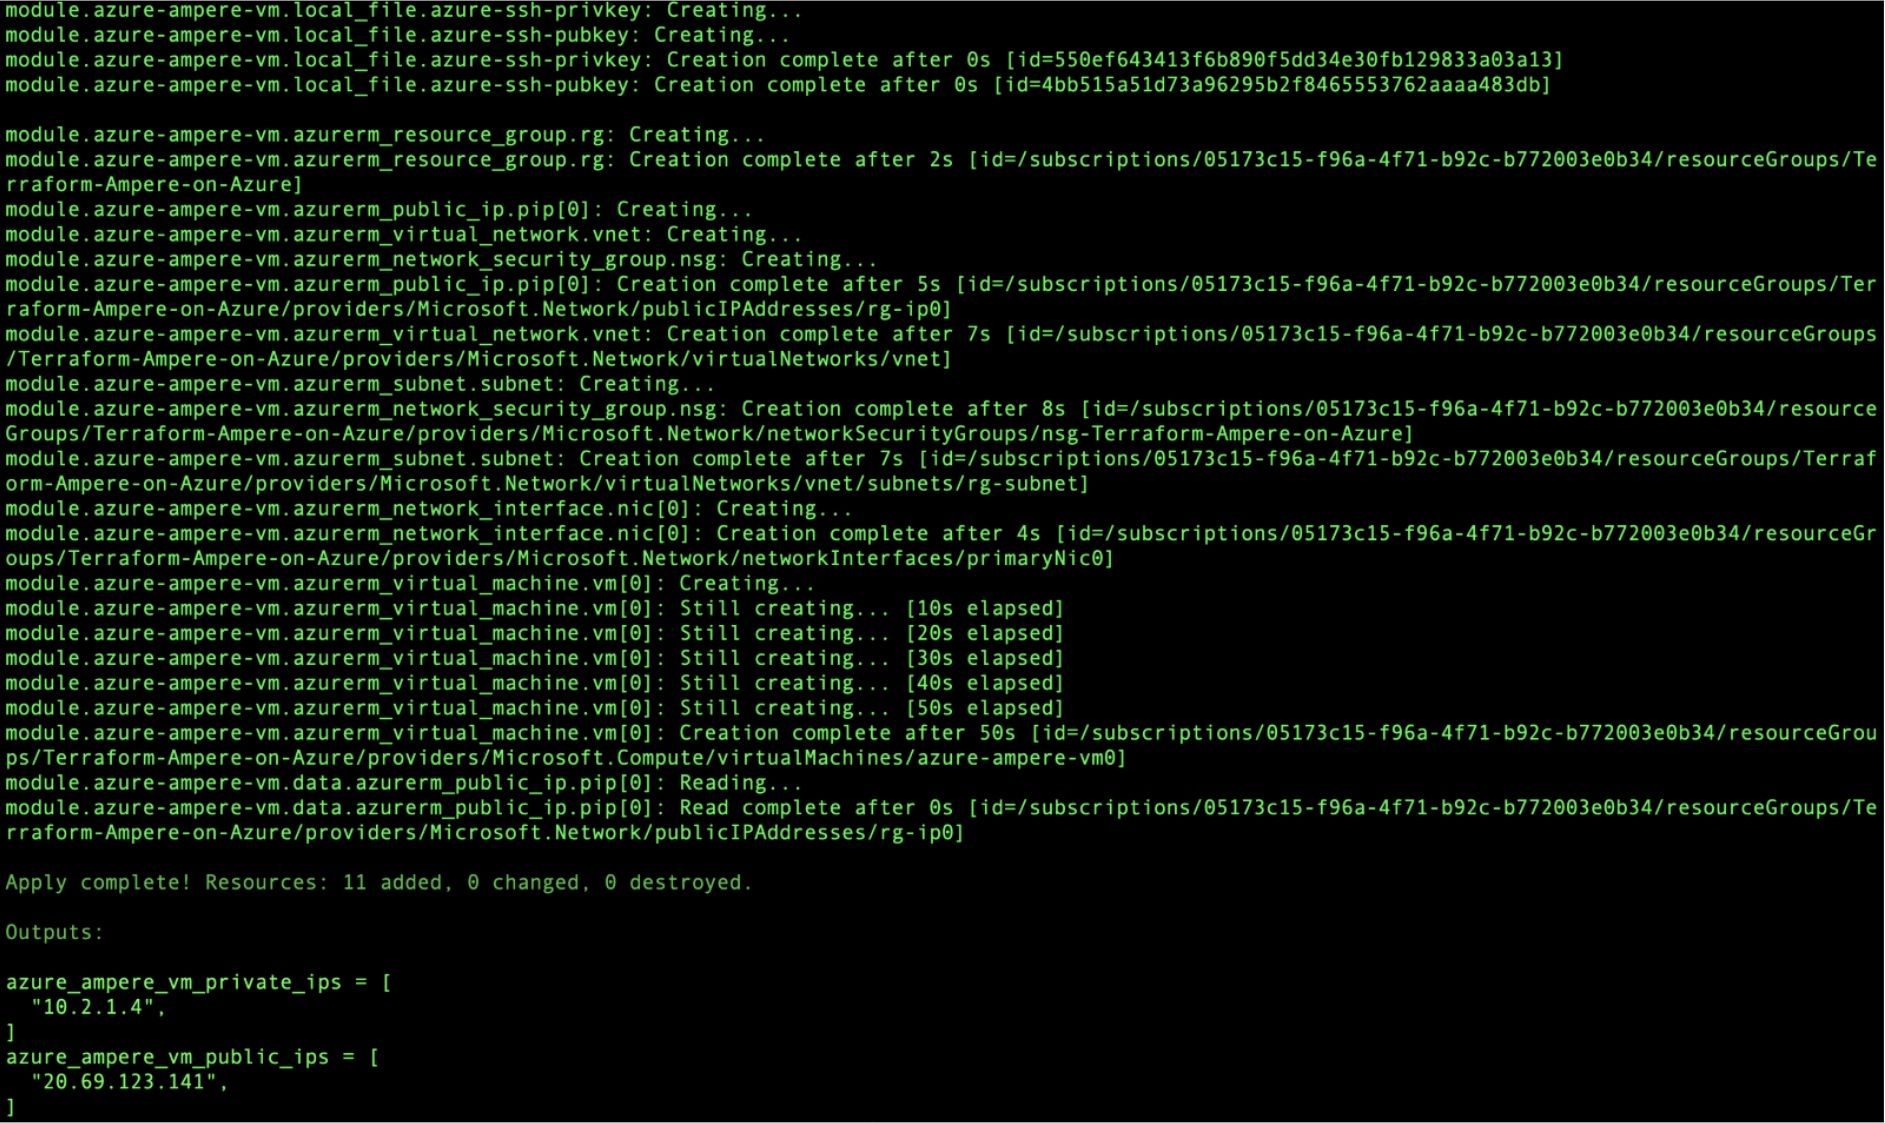
terraform apply -auto-approve
The following is an example of output from a ‘apply’ run of terraform from within the project directory:
Logging in
Next, you’ll need to login with the dynamically generated ssh key that will be sitting in your project directory. To log in take the ip address from the output above and run the following ssh command:
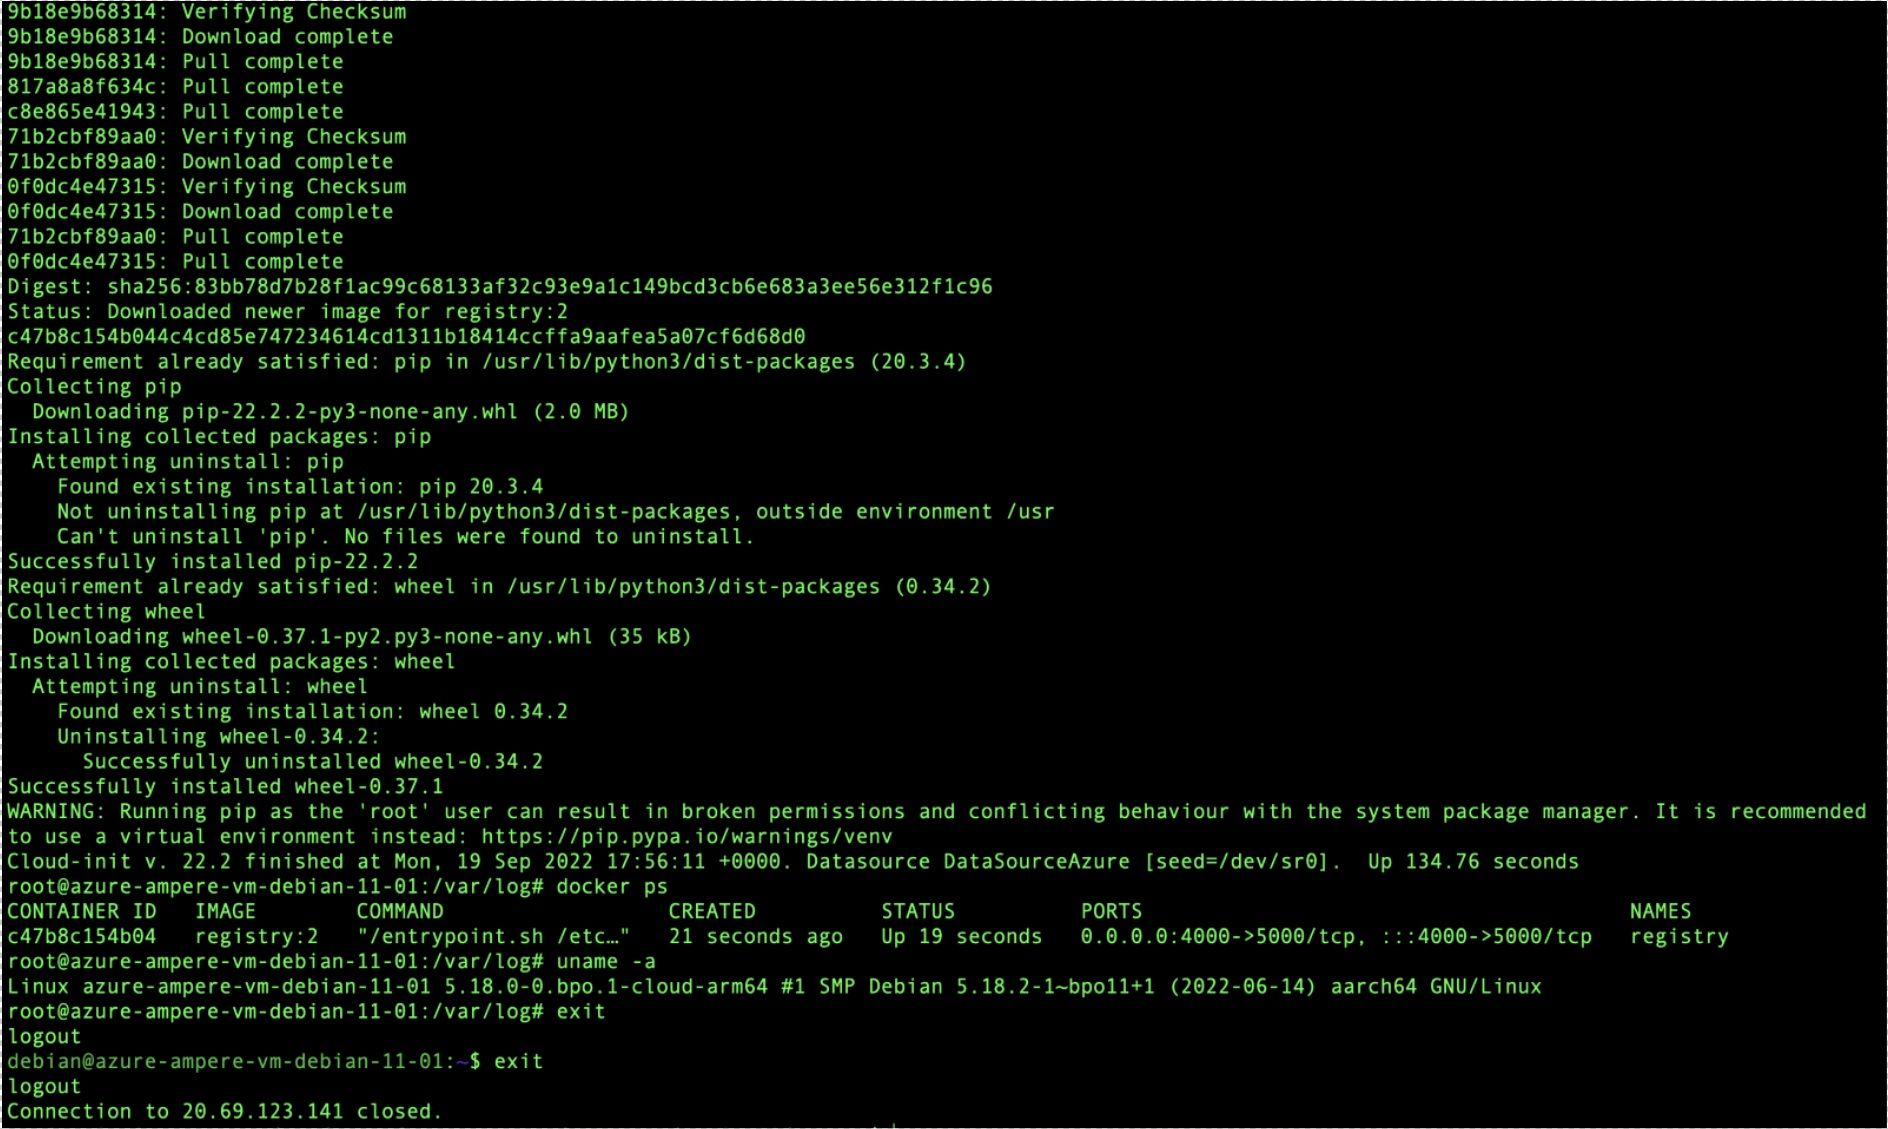
ssh -i ./azure-id_rsa debian@20.69.123.141
You should be automatically logged in after running the command. The following is output from sshing into an instance and then running ‘sudo cat /var/log/messages’ to verify cloud-init execution and package installation:
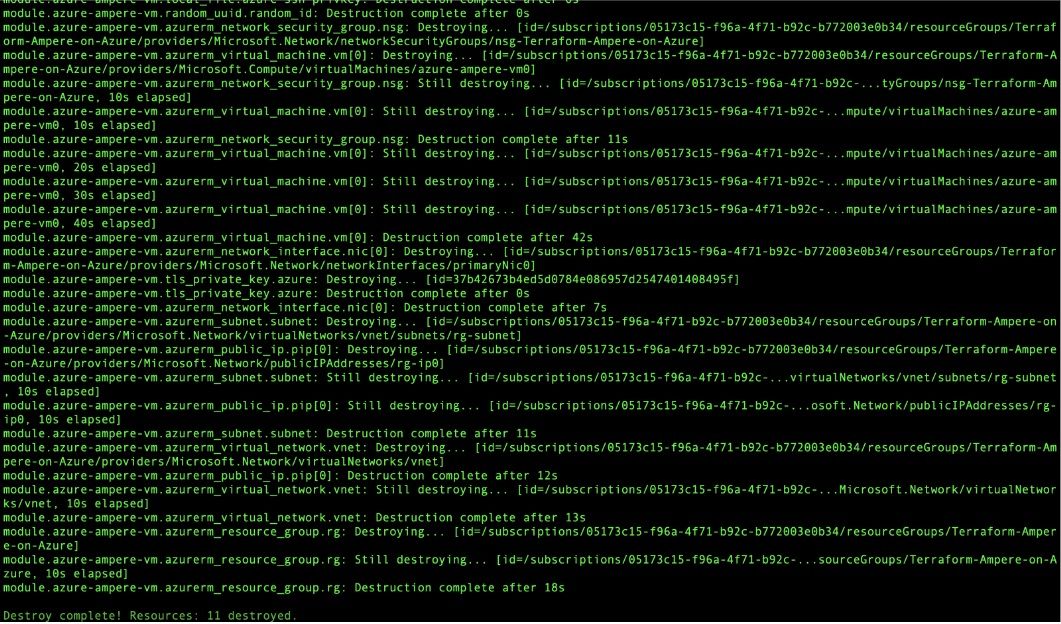
Destroying when done
You now should have a fully running and configured Debian instance. When finished, you will need to execute the ‘destroy’ command to remove all created objects in a ‘leave no trace’ manner. Execute the following from a command to remove all created objects when finished:
terraform destroy -auto-approve
The following is an example of output of the ‘terraform destroy’ when used on this project.
Modifying the cloud-init file and then performing the same workflow will allow you to get iterating quickly. At this point you should know how to quickly get automating using Debian with Ampere on the Cloud!
Ampere Computing LLC
4655 Great America Parkway Suite 601
Santa Clara, CA 95054


